Quick Navigation:
- What Does It Mean to De-Winterize a Travel Trailer
- De-Winterization Checklist
- 8 Steps to De-Winterize Travel Trailers
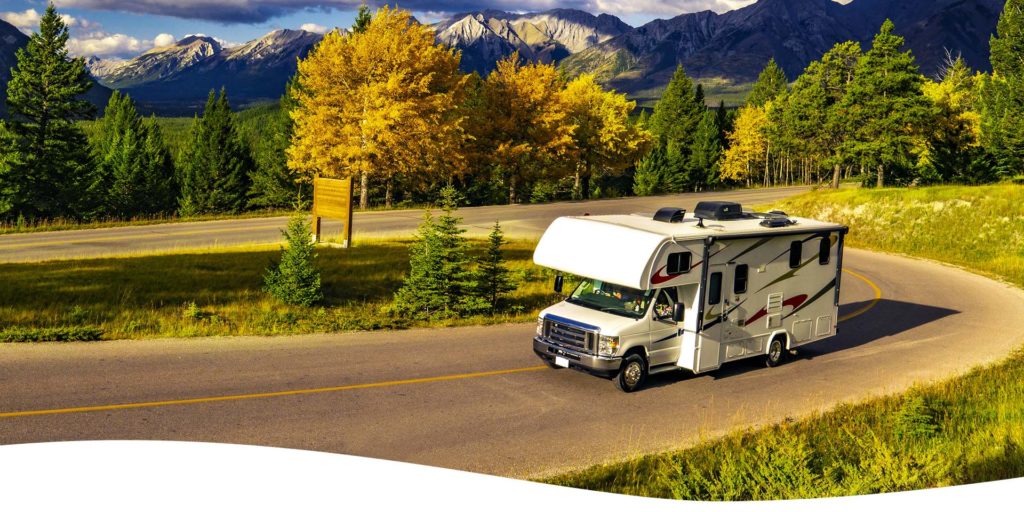
The cold days of winter are fading away, and spring is quickly approaching. With sunnier days on the horizon and vacation season finally around the corner, it's time to prepare your recreational vehicles for all of your summertime adventures. This extensive process is known as de-winterizing. Keep reading to learn how to de-winterize a travel trailer like a seasoned RV owner and be ready for your first trip of the season.
In just eight easy steps, we'll show you how to de-winterize a travel trailer the right way, so that you don't accidentally put the essential systems at risk. With a clear goal and detailed instructions, you'll have your second home back in working order and ready for adventure.
What Does It Mean to De-Winterize a Travel Trailer?

At the end of autumn, you went through the process of winterizing your travel trailer. You added antifreeze to the water system, disconnected the propane tanks and unplugged the batteries to prepare your vehicle for months of freezing temperatures and harsh snowstorms. As you have probably guessed, de-winterizing your travel trailer is the opposite of winterizing. It means getting your vehicle ready for spring and summer so that you can take it on the road once again.
What exactly does de-winterizing entail? It requires you to inspect your travel trailer from the outside in. From checking for structural and cosmetic damage on the exterior to flushing the water system and restocking your first aid kit, de-winterizing is a thorough examination of your vehicle. Once your trailer is in working order, you can finally use it for camping and traveling.
Apply for a Travel Trailer Loan
8 Steps to De-Winterize Travel Trailers
De-winterizing can be tedious, but it is a necessary process. While long-time travel trailer owners have their preferred methods and procedures for de-winterizing, first-time vehicle owners are always looking for the best and most efficient ways to keep their travel trailers in pristine condition.
The steps that are detailed in this guide are for travel trailers that have been winterized properly. However, even if you don't live in a state that requires you to winterize your recreational vehicles, it is still a good idea to sanitize and refresh your vehicle for the upcoming season.
1. Inspect Your Trailer's Exterior
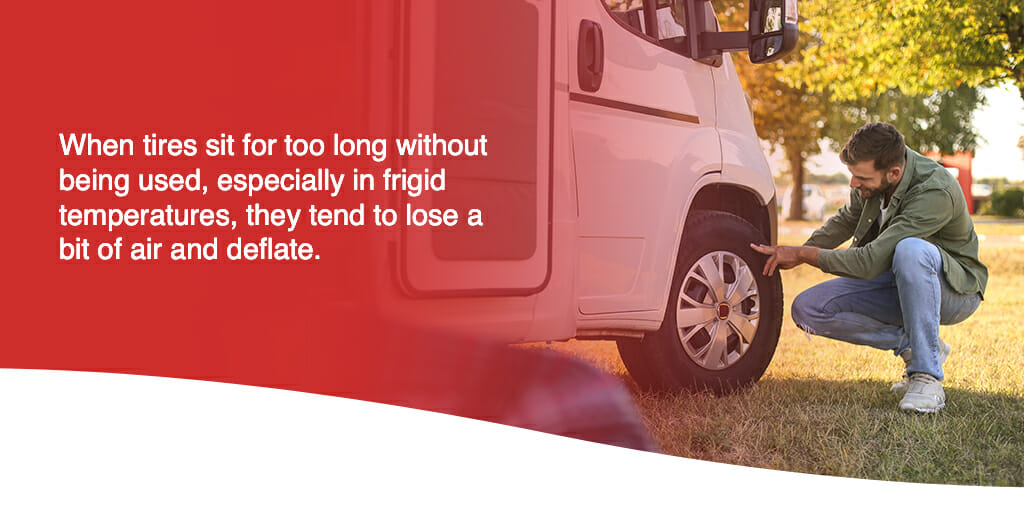
The first thing that needs to be checked is the outside of your travel trailer. Depending on where or how you stored your trailer over the winter, the exterior most likely accumulated a layer of dust and grime that will need to be washed off. Dust and dirt can still accumulate even with a tarp or cover as well.
After you remove any tarps or covers you used to protect the trailer, walk around the exterior and look for cracks, split seams, leaks and other signs of damage. If everything looks good, you can give the exterior a thorough wash with mild soap and water.
Another important step in inspecting the exterior is checking the tires and brakes. When tires sit for too long without being used, especially in frigid temperatures, they tend to lose a bit of air and deflate. Along with checking the tire pressure, you should also look over the tread.
Make sure you pay attention to the windows and doors for cracking or peeling.
The last areas that need to be inspected and cleaned are the roof, awning and slide-outs. Between snow, rain and cold temperatures, you never know what the condition of your travel trailer will be once spring arrives.
2. Inspect the Interior of the Travel Trailer
Now that the outside of your RV is clean, shiny and ready for traveling, it's time to finally open the door and see what you're working with on the inside.
While giving the inside of your travel trailer a quick once-over seems like a no-brainer task, your inspection should be more comprehensive. While you may have perfectly tucked your trailer away in storage, there is still a chance that the interior was exposed to water damage, mold, mildew and unwanted guests like insects and furry critters.
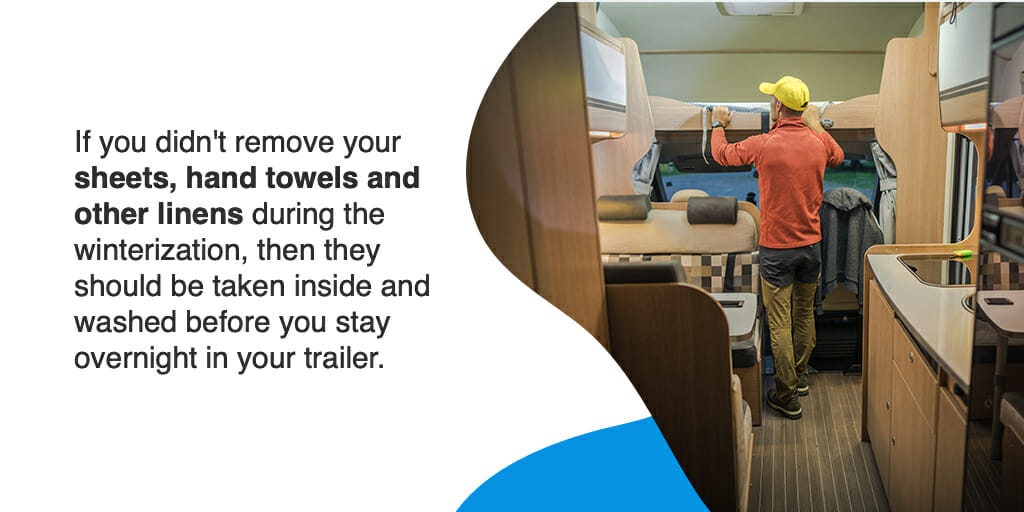
If you didn't remove your sheets, hand towels and other linens during the winterization, then they should be taken inside and washed before you stay overnight in your trailer.
Next, open all of the compartments, cabinets, lockers, drawers and any other enclosed areas. Check the insides for signs of mildew, water damage and pests.
Lastly, before moving on to the next step, inspect the outlets and appliances in your trailer to make sure they are functioning correctly.
3. Reinstall Batteries
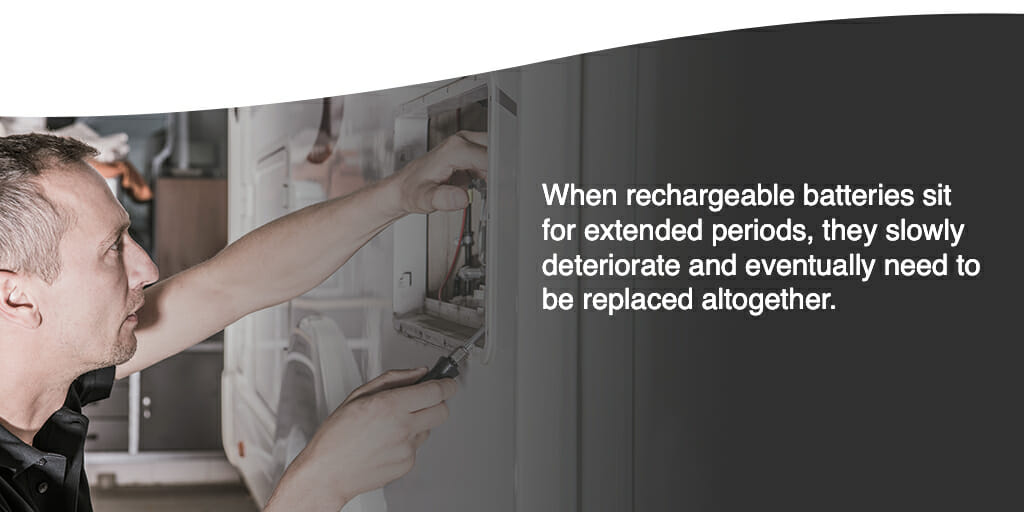
Just like how your trailer's tires lose air over months of inactivity, the batteries in your travel trailer lose their power when stored for long periods of time. When you winterized your vehicle, you should have removed your batteries and charged them to full power.
Throughout the off-season, you should have periodically checked and recharged the batteries to prevent them from dying. When rechargeable batteries sit for extended periods, they slowly deteriorate and eventually need to be replaced altogether. Keeping them charged through the winter can help extend their lifespan and improve their efficiency.
Before you reinstall your batteries, check their charge level with a voltmeter. Just make sure that they aren't turned on or connected to electricity so that you get an accurate reading. Finally, check the water levels in the batteries. If the levels are low, simply add distilled water until appropriately filled.
Learn About Travel Trailer Loans
4. Set up the Propane Tanks and Hoses
Every travel trailer owner knows that the propane system is a crucial part of the vehicle's function and de-winterization. Propane provides power for your stove, refrigerator and grills, as well as heat and hot water so you have access to the comforts of home no matter where you go. While you may be well-practiced in removing and replacing your propane tank, any refills, repairs and replacements should be performed by certified service technicians.
While this guide shows you have to safely de-winterize your travel trailer propane tank by attaching it to get your system up and running, keep in mind that tanks, hardware and valves should never be painted. Additionally, any defects should result in the immediate placement of your tank.
Here is how to de-winterize travel trailer propane tanks safely.
Before you check the propane system, make sure all of your appliances that use propane are turned off. Then, open the propane valves and see if you can smell the propane — propane itself is an odorless and colorless gas, but it has mercaptan added to it to give it the rotten egg odor.
Next, you need to check the hose connections for leaks. You can do this by making a small bucket of soapy water and opening the valve just to one-quarter of an inch. Then, take a soapy sponge and wipe it on the propane valve. If bubbles form, that is an indicator that there is a leak in the line and you should replace the connections. If no bubbles appear, then your hoses are leak-free. Close the valves when you are done with the test and move to the next step.
Before you take your propane tanks out of storage, wipe down all of your appliances with soapy water. Now you're ready to mount the tanks near the trailer's tow arm in the rear. Carefully attach the propane hoses according to the instructions provided in your owner's manual. If you can't find your vehicle's manual, just do a quick internet search for your trailer's make and model, and the results will show you how to do it.
If you winterized your trailer by removing the propane tank, then you should be familiar with how to install it as well, and the process should be fairly easy.
5. Flush Your Water System
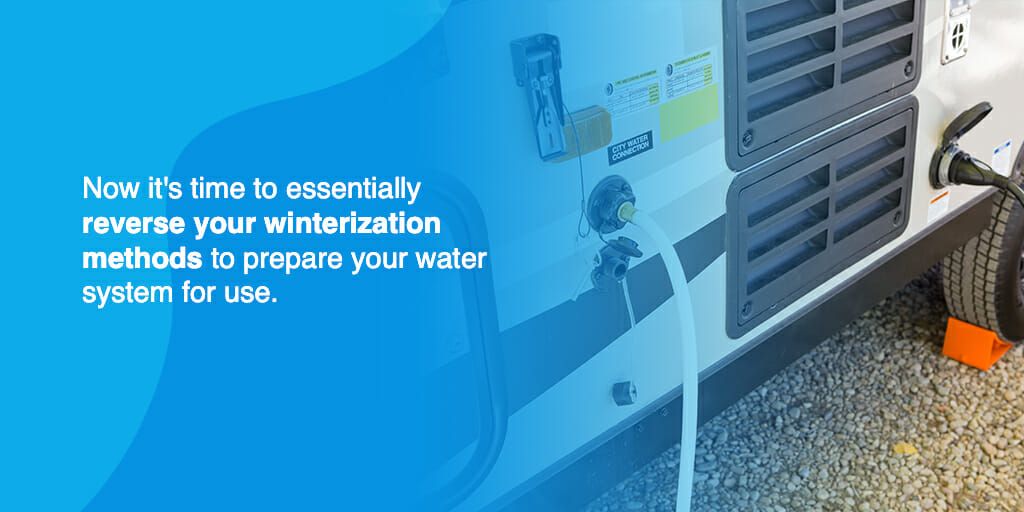
The water system is arguably the most important system to the function of your travel trailer, as well as the comfort and convenience of any vacation you take in your trailer. The de-winterizing procedure is just as necessary and requires attention to detail and precision. When you winterized your water system for the colder months, you drained the freshwater tank, added antifreeze and turned off the taps. Now it's time to essentially reverse your winterization methods to prepare your water system for use.
How do you de-winterize a travel trailer water system? The first step is to flush out the antifreeze. While antifreeze isn't necessarily toxic, it can pose health concerns if traces are left in your tanks. To efficiently flush out the antifreeze from your system, start by adding potable water to the holding tank. Then, turn on all of the faucets, including the shower, and allow the water to run through the system for approximately five to 10 minutes.
While the water pump is still running, flush the toilet several times as well. When the water is finally running clear through all of the taps, you can close them and turn off the water pump. Next, take the water heater out of bypass mode and add new water filters to the system. Finally, dump the gray and black water tanks in a dump station and rinse them out.
At this point, you're probably ready to work on the rest of your de-winterizing checklist, but before you can move onto the final steps and pour yourself a glass of water, you have to sanitize the trailer's water system. Even though flushing the system removes the antifreeze and impurities, sanitizing will eliminate bacteria and mold that can accumulate when a trailer is stored for a long time.
To sanitize the water system, start by closing the drain and adding drain plugs. Using a quarter cup of bleach for every 15 gallons of water, pour the mixture into your freshwater tank. Fill the remainder of the tank with clean water until it's full. Next, turn on the water pump and your faucets and run the water until the smell of bleach goes away completely.
Finish up by draining all the water from the system, filling it up once more with potable water and flushing the system again. Continue running the water until you are certain that all traces of bleach are gone. Now that your water system is sanitized, you can safely drink, cook and bathe in your trailer.
6. Check the Pipes and Air Vents
When you're living in an enclosed space, especially traveling on the road, your air vents accumulate layers of dust, debris and bacteria that will circulate through the air. This can contribute to upper respiratory issues and asthma attacks if not addressed. To maintain your air vents, open the vents, doors and windows in your trailer. Then, detach the outer covering of the vents and clean them with soapy water, making sure to get in between each of the grilles.
The air in your vehicle will circulate better, prevent humidity and help make your space feel clean and refreshed.
The pipes in your travel trailer are another component that should be checked before hitting the road. Along with assessing the water pressure, you need to also inspect your plumbing system for leaks.
You can do this by turning on the water pump to pressure the water when the tank is full. The pump will automatically turn itself off when the maximum pressure is reached. If the pump turns on again or doesn't turn off, then there is a leak in your system and you will have to check each of the pipes. If you do have a leak in your plumbing system, take your trailer to be serviced by a professional.
Learn About Travel Trailer Loans
7. Check the Safety Equipment
Emergencies can happen at any moment. When you're on the road, you don't want to take any chances. Inspecting and maintaining your safety equipment is easy and requires minimal effort. Once you get your first aid kit and roadside safety equipment in order, you can be better prepared for an emergency situation. Here are a few guidelines to help you de-winterize travel trailer safety equipment:
- Fire extinguisher: Make sure you have a fire extinguisher on-hand and in an accessible location in your trailer. Check the expiration date to ensure that the unit is still functional.
- Smoke detectors: Check that your smoke detectors are installed properly and are functioning. If the signal is weak or not active, replace the batteries and test it again.
- First aid kit: Take inventory of your first aid kit and make sure it is stocked with essential items such as bandages, gauze, antibacterial wipes and gel, calamine lotion, bug spray and aspirin.
- Road kit: You should always have a vehicle repair kit in your travel trailer. Your kit should include flares, jumper cables, a tire jack and a spare tire.
- The extras: When you're living on the road, it's always a good idea to pack doubles of a few emergency items. When you're refilling your trailer's safety equipment, make sure to add batteries, extra phone cables, a portable phone charger, flashlights and an emergency radio.
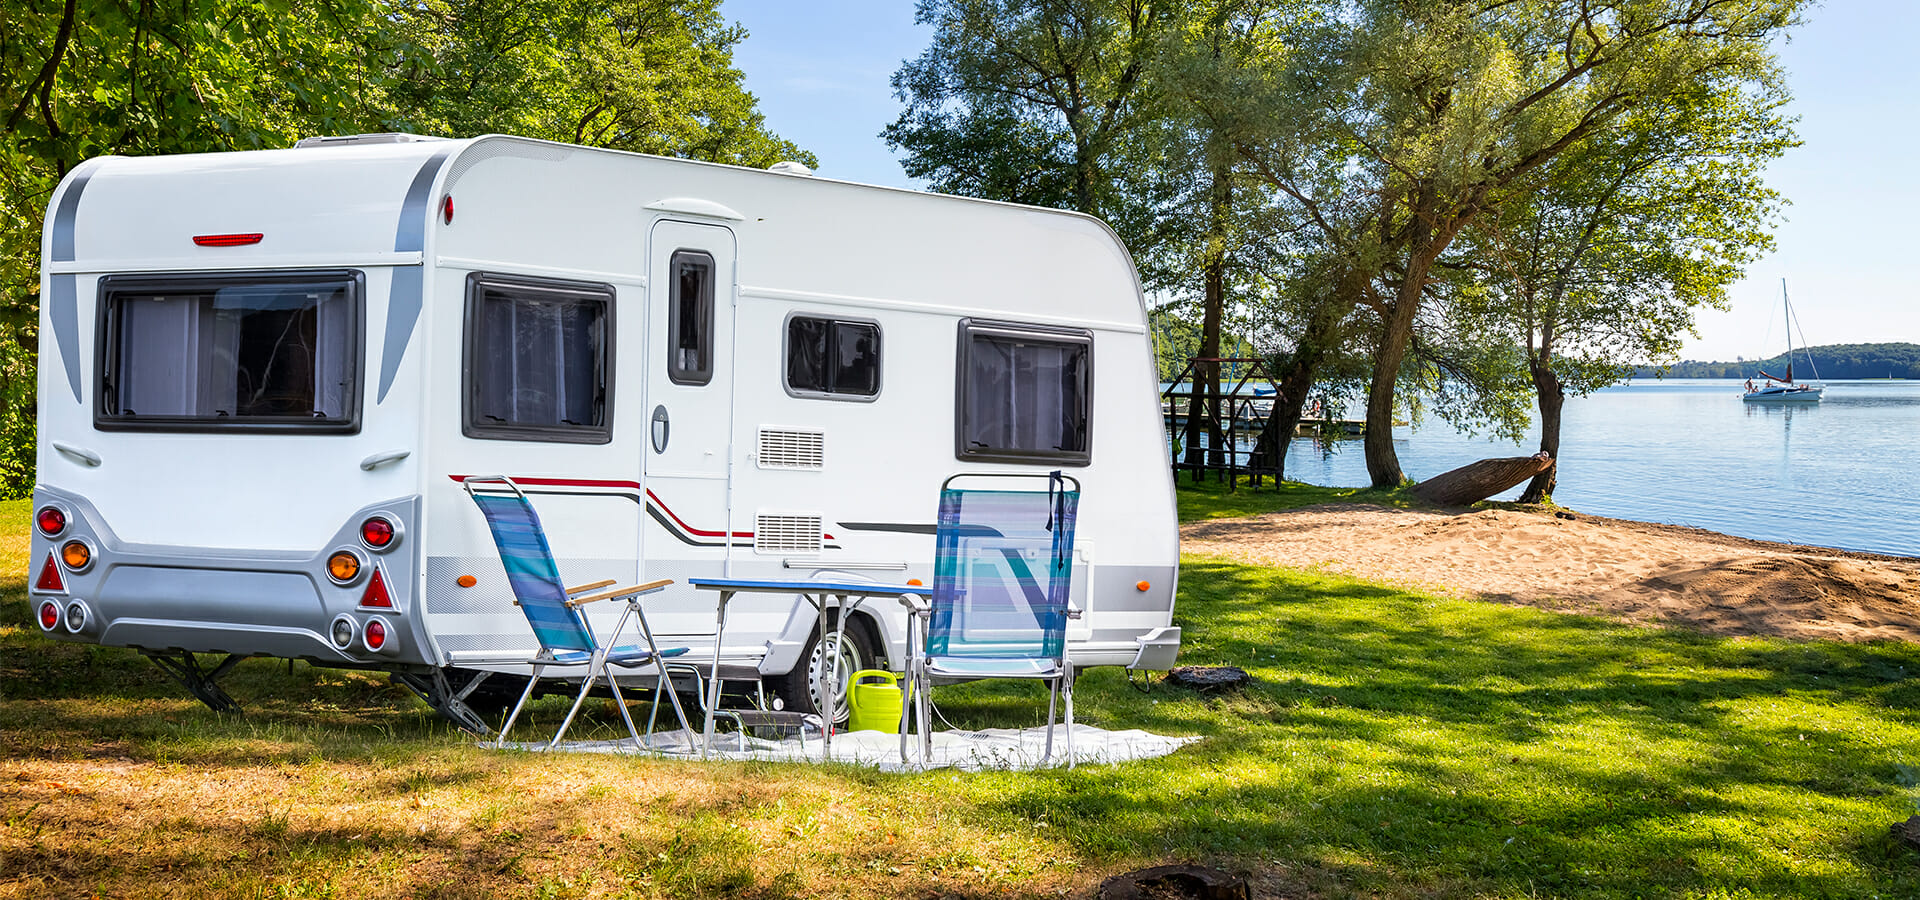
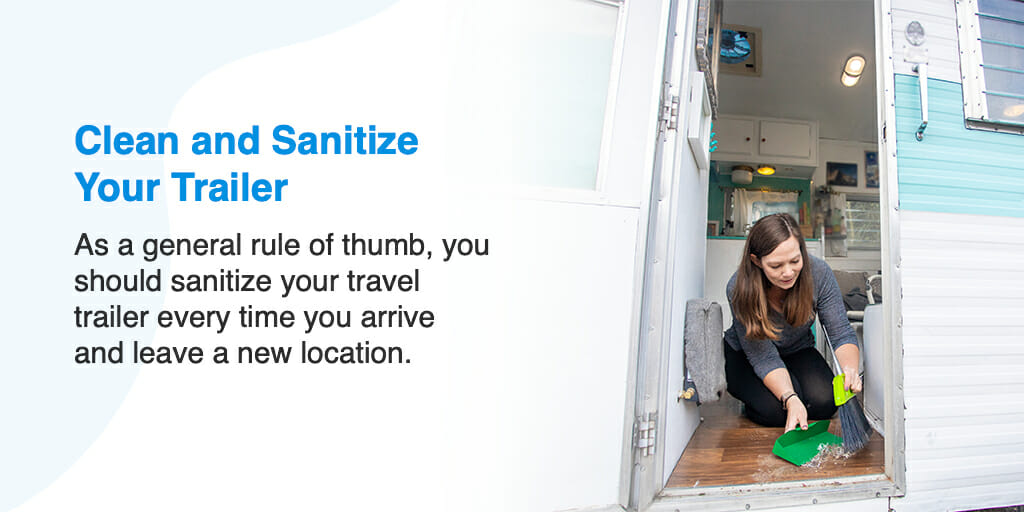
8. Clean and Sanitize Your Trailer
While cleaning and sanitizing the inside of your trailer may not necessarily affect system operation, it can affect your overall comfort level when it's time to hit the road. Treat yourself to a wonderful job cleaning so you can rest easy in your trailer's bed.
A top-to-bottom clean means that every inch of your travel trailer is scrubbed down and sanitized. Make sure to pay special attention to the cupboards, cabinets and corners, as well as the bathroom. If you ended your winterization process with a thorough cleaning, then this last step should go much faster.
As a general rule of thumb, you should sanitize your travel trailer every time you arrive and leave a new location.
De-Winterization Checklist

To help with your de-winterization preparations, we've broken down this checklist into sections.
The Exterior
- Remove the covering.
- Check the exterior for damage.
- Inspect the windows and doors for cracking and peeling.
- Check the roof, awning and slide-outs for damage and dirt.
- Wash the outside with a mild soap.
The Interior
- Remove and wash linens.
- Place fresh linens in the kitchen, bathroom and bedroom.
- Open all of the compartments and check for bugs, cobwebs and mold.
- Check the outlets and appliances to make sure they are working.
The Batteries
- Bring your batteries to full charge.
- Check the charge with a voltmeter.
- Check the water levels and refill if necessary.
- Reconnect the batteries.
The Propane Tanks
- Make sure all appliances that use propane are turned off.
- Open the valves to check the smell.
- Check the hoses for leaks.
- Close the valves.
- Clean appliances with soapy water.
- Reinstall the propane tanks.
The Water System
- Pour potable water into tanks.
- Turn on faucets and shower to allow water to run through.
- Flush the toilet several times.
- When the water is running clear, turn off the taps.
- Close and plug the drains.
- Fill the tanks with a mixture of bleach and water.
- Turn on faucets and water pump to run water through the system.
- Run clean water through the system and flush twice more.
The Pipes and Air Vents
- Open all of the windows, doors and vents.
- Remove and clean the vent covers.
- Replace the covers.
- Power on your water pump to bring water tanks to maximum capacity.
- If the pump doesn't turn off or turns on by itself, inspect the pipes for leaks.
- If there are leaks, bring your trailer to get serviced.
The Safety Equipment
- Check the expiration date on your fire extinguisher.
- Test your smoke detectors and replace the batteries if necessary.
- Restock the first aid kit.
- Take inventory of your roadside safety kit and replace items as needed.
Cleaning Up
- Wipe down and sanitize your kitchen and appliances.
- Make the bed with fresh linens.
- Clean inside cupboards, closets and cabinets.
- Clean and sanitize the bathroom.
- Remove any garbage.
- Sweep, vacuum and mop the floors.
Get the Travel Trailer You Want at a Price You Can Afford

Forget filling out dozens of loan applications. Let My Financing USA do the heavy lifting for you. With a one-time streamlined application that takes just five minutes to fill out, you can get pre-qualified to own the travel trailer of your dreams. Our qualified experts find you the best rates using the relationships we've built over decades in the industry.
Stop putting your credit score at risk and start getting results with professionals who put you first with personalized service and a fast-track system. Learn more about our travel trailer loans today, or get started immediately with our travel trailer loan application.
Apply for a Travel Trailer Loan