
Quick Navigation:
- Steps to Winterize Your Trailer
- Winterizing the Interior of Your Travel Trailer
- Winterizing the Exterior of Your Travel Trailer
- Storing Your Travel Trailer During the Winter
- Mistakes to Avoid When Winterizing Your Travel Trailer
- Checklist for Winterizing Your Travel Trailer
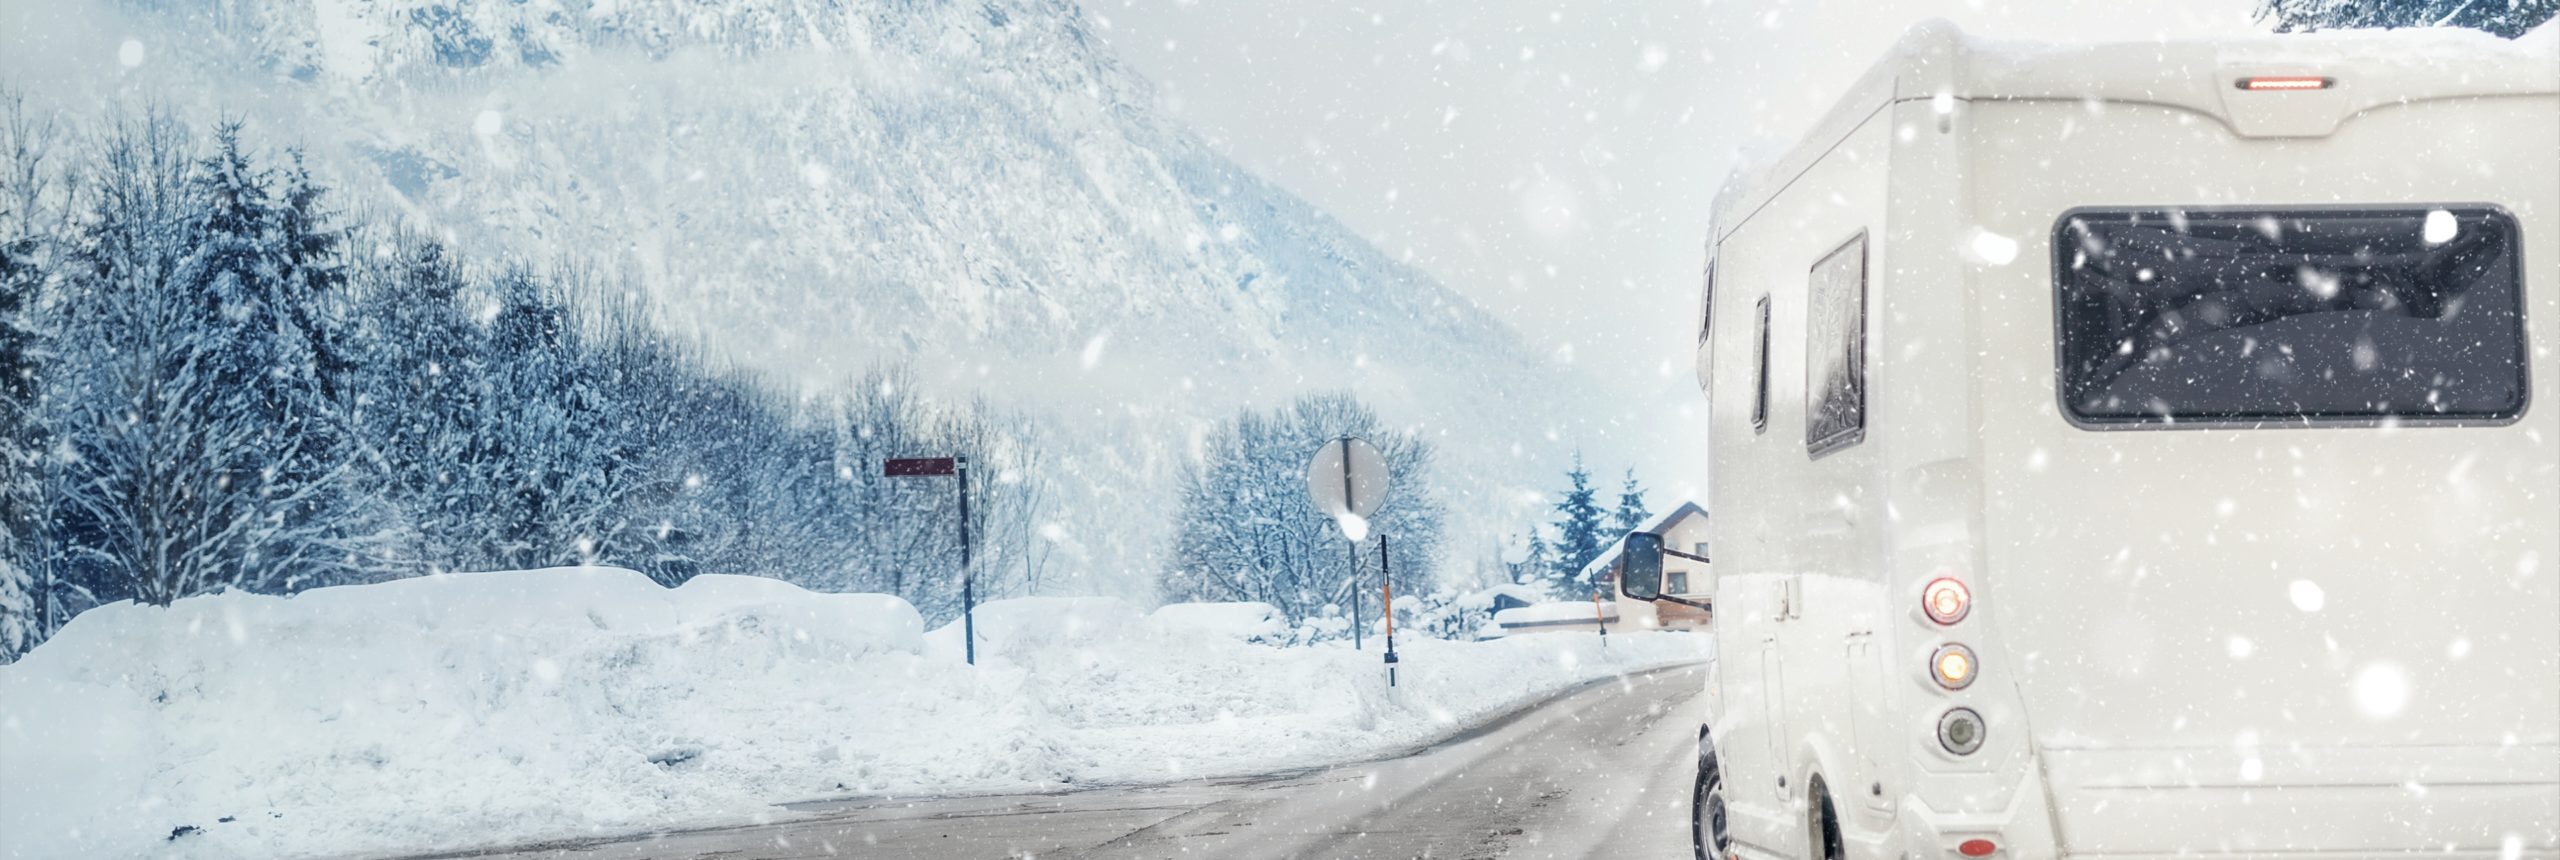
As winter approaches, it's time to begin preparing your travel trailer for cold weather and invading creatures — a process known as winterization. In this guide, we'll show you the steps to winterize your travel trailer and provide additional tips so when spring rolls around, your trailer is in the same condition that you left it.
Steps to Winterize Your Travel Trailer
The most important aspect of winterizing your travel trailer is protecting its plumbing system from freezing weather. If your tanks or water lines freeze, this can lead to cracked or broken pipes, fittings and tubing. As you can imagine, repairing this issue is costly and stressful.
There are two main ways to protect the water lines in your travel trailer — with antifreeze and with compressed air. The antifreeze method involves filling your water lines with antifreeze so they don't freeze, and the compressed air method involves blowing out your water lines using compressed air. Using antifreeze is considered the best way to winterize a travel trailer and will better protect your pipes than the compressed air method, as the air cannot blow out all of the water in the pipes. However, if you're storing your travel camper in a warmer region or inside, the antifreeze method may not be necessary.
We'll go over the steps for each process below.
1. The Antifreeze Method
How much antifreeze you'll need depends on how big your water system is, but you can expect to use 2 to 3 gallons. Be sure you use non-toxic antifreeze made specifically for RVs and travel trailers.
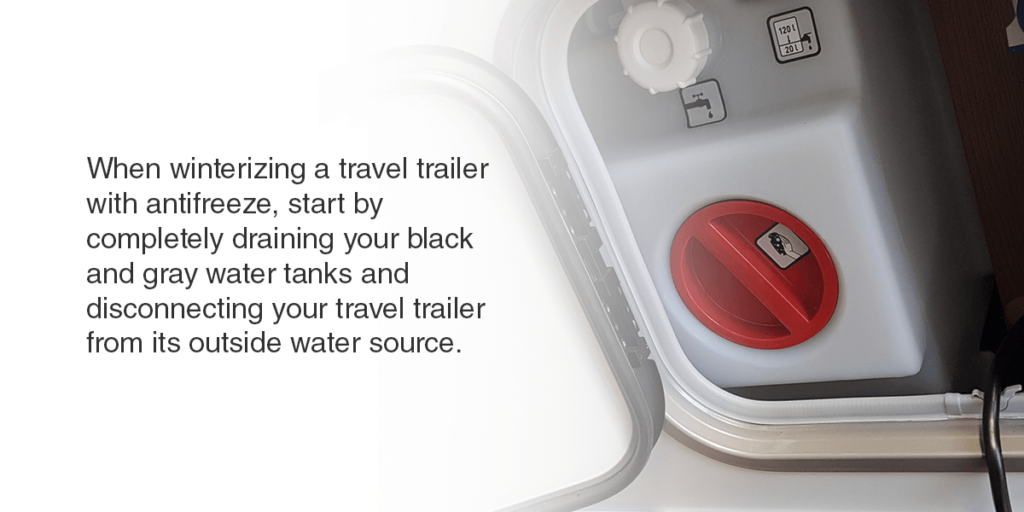
When winterizing a travel trailer with antifreeze, start by completely draining your black and gray water tanks and disconnecting your travel trailer from its outside water source. Then, follow these steps:
- Take out and bypass your inline water filters: Newer RVs often come with pre-installed bypasses, but if your camper doesn't have one, you'll need to get a water filter bypass hose, which you can install when the filter is out.
- Bypass the water heater: There is a good chance your RV has a factory-installed bypass kit. However, if yours does not, you can buy and install an aftermarket bypass kit for the water heater.
- Open faucets and flush toilet: Open all of the faucets in your travel trailer and let the excess water drain. Remember your shower and tub as well. You should also open all the low-point drains on your trailer to let out the water. If you can't locate them, you should be able to find out where they are in your owner's manual.
- Drain the fresh water holding tank: You will do this using the low point of the tank drain.
- Drain your water heater: Never drain your water heater while it's still hot or pressurized. So before you drain it, open the pressure relief valve, which depressurizes the tank, and leave it open. With the appropriate wrench, take off the anode or drain plug and let it drain out. Use a rinsing wand to flush out any sediment. Then, close your pressure relief valve, loosely reinstalling the anode rod or drain plug for safekeeping until it's time to de-winterize.
- Connect the pump converter kit:Once you've connected the water pump, put the tube into the jug of antifreeze, opening the kit's valve. If your travel trailer doesn't include one, you can install an aftermarket bypass kit.
- Turn the water pump on to let the antifreeze pull into your water system: Open the cold and hot valves at the faucet closest to your pump, and when you see antifreeze, close the valves. Repeat this process with every faucet, starting from closest and ending with furthest. Be sure to flush the toilet as well. Then, turn off the pump and open a faucet to let off the pressure and close all your faucets.
- Pour antifreeze into the drains: Pour a cup of RV antifreeze into all your shower and sink drains. This lets the antifreeze protect the drain traps, and it flows into your gray tank. Pour 2 cups of antifreeze into your toilet bowl, letting it drain into the black tank.
Refer to your owner's manual for detailed, specific instructions on winterizing your ice maker, dishwasher and washing machine. While you need to protect all of these appliances, each one requires different procedures.
Learn About Travel Trailer Loans
2. The Blowout Method: How to Winterize a Travel Trailer Using Air
If you're not crazy about the idea of putting antifreeze in your plumbing system, winterizing your travel trailer with compressed air is an alternative to consider. Winterizing a travel trailer with air requires a blow-out air compressor, a blow-out adapter and a gallon of antifreeze.
Again, you'll first want to drain the gray and black water tanks, then disconnect the camper from the outside water source. Then follow these steps:
- Connect your blow-out adapter to the correct water inlet: Ensure that you're connected to the right inlet. Fresh water tank inlets often look similar to the inlets of tank flushers, but they may get damaged if compressed air is applied. Adjust your compressor to a maximum pressure of 30 pounds per square inch (psi) to avoid damaging your pipes.
- Connect the compressor hose to your blowout adapter: Turn the compressor on and have it run. Then go from one fixture to the next and let out the air, running each of your faucets, toilet and shower for around 15 seconds. End with your low-point drains.
- Turn your compressor off and disconnect your blow-out adapter: Remove leftover air pressure by opening any faucet.
- Add antifreeze: In your shower drain and each of your sinks, pour a cup of RV antifreeze to protect your drain traps. The antifreeze will flow into your gray tank. Then, pour two cups of antifreeze in your toilet bowl and open up your toilet seal, which will let the antifreeze drain into your black tank.
Winterizing the Interior of Your Travel Trailer
Rodents and other critters like to take up residence in your travel trailer when you're storing it over the winter. To keep these destructive creatures out of your camper, follow these steps:
- Inspect all seams and seals: Walk around the exterior of your trailer and inspect all its seams and seals. Use some steel wool to plug up all the places rodents could enter, including the exhaust pipe.
- Take out all food, clothes and valuable items: If you would like to store some clothes in your travel trailer, make sure to use mothballs.
- Inspect your floor: Look closely at the floor for soft spots, which can indicate water damage. Step down firmly on the floor in your kitchen where it meets your cabinets — if you come across a soft spot, let a professional know right away.
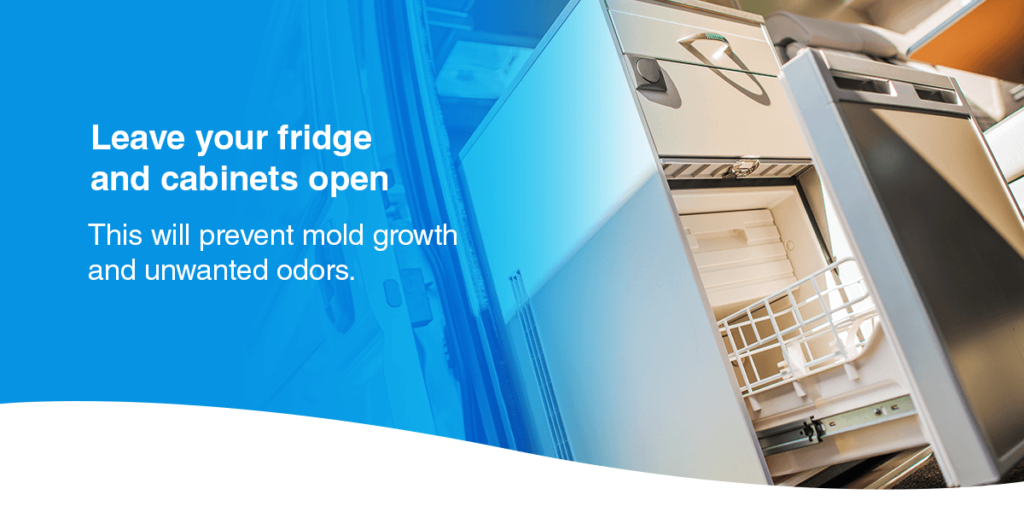
- Leave your fridge and cabinets open: This will prevent mold growth and unwanted odors. If moisture is a concern, consider placing a dehumidifier in your trailer's main area.
- Set some mouse traps: If mice do gain entry, this is a great way to stop them quickly.
Winterizing the Exterior of Your Travel Trailer
Before storing your trailer for the winter, you'll also want to make sure your exterior is in top condition. When you winterize your exterior, take these steps:
- Apply a protective coat: Start by thoroughly washing and waxing your trailer. Once dry, apply silicone spray to waterproof your trailer and fix any possible leaks. This type of spray can be applied to wood, metal and plastic surfaces.
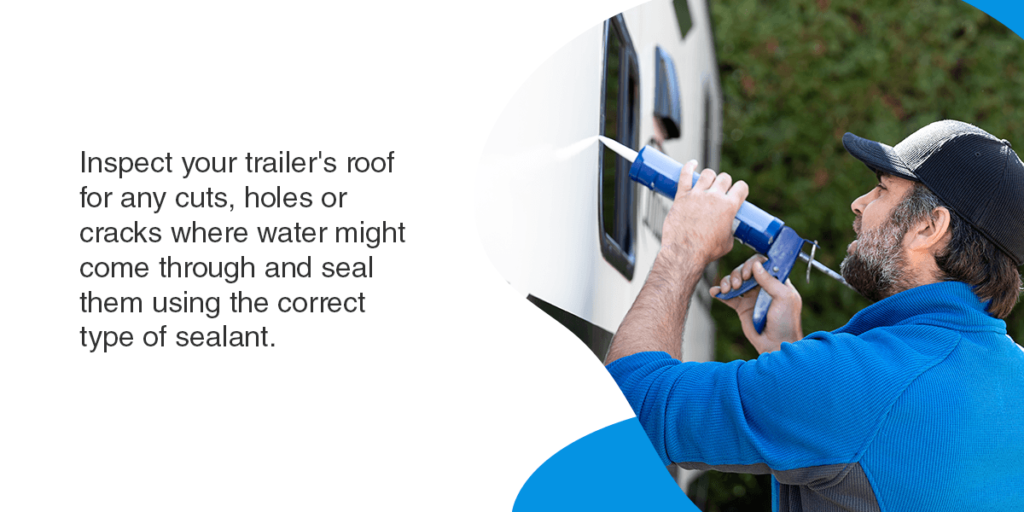
- Coat the roof if needed: Inspect your trailer's roof for any cuts, holes or cracks where water might come through and seal them using the correct type of sealant. If you're not sure, speak with your travel trailer dealer or manufacturer. If the roof appears to be aging, applying a coating of liquid rubber is often recommended. You should inspect these sealants once a year. You should also inspect stink pipe vent covers, vent caps and AC shrouds for any damage. You should also remove any wasp or bird nests.
- Inspect your trailer's body seams: Inspect the body seams and seals around windows and doors. Take a close look at TV antennas, air conditioners and any other openings for discoloration or soft spots. You should also look inside overhead cabinets to examine the top corner where the ceiling and wall meet.
- Inspect the furnace and water heater: If you notice any damage on these appliances, have them looked at by a professional.
- Clean your awning: If you have an awning, clean it using an RV awning cleaner and remove any mildew. We advise against using dishwashing detergent, as this can dry out your awning.
- Pest-proof: Spray your doorway using a natural bug repellent. You should also close the vents to your water heater and furnace and install bug screens on them.
Storing Your Travel Trailer During the Winter
After you winterize the exterior and interior of your travel trailer, it's time to decide where and how you'll store it. First off, it's good to know your trailer's exterior is meant to handle the weather if you have to store it outside. However, the best storage space is an enclosed garage with temperature regulation. If this is not an option for you, the next best place would be a covered steel structure, which will protect your trailer from the harsh elements but not freezing temperatures.
After you've found a space to store your travel trailer, follow these steps:
- Inspect your radiator clamps and hoses: Look for any soft spots or wear, and replace them if necessary.
- Inspect your heater clamps and hoses: Make any replacements if needed.
- Take out the propane tanks from your camper: Top off your propane tanks, shut them off and store them away in a safe location somewhere else.
- Inspect your air filter: If it's dirty, consider replacing it now so you can enjoy fresh air once you use your camper again in the spring.
- Check your lights: Inspect any lights inside and outside, including headlights, turn signals and bright lights, if applicable. If any bulbs are burnt out, now is the time to replace them.
- Turn off your circuit breakers: Turn off the breakers for heat, electricity and AC.
- Disconnect the battery: Store it in a dry, warm, safe place.
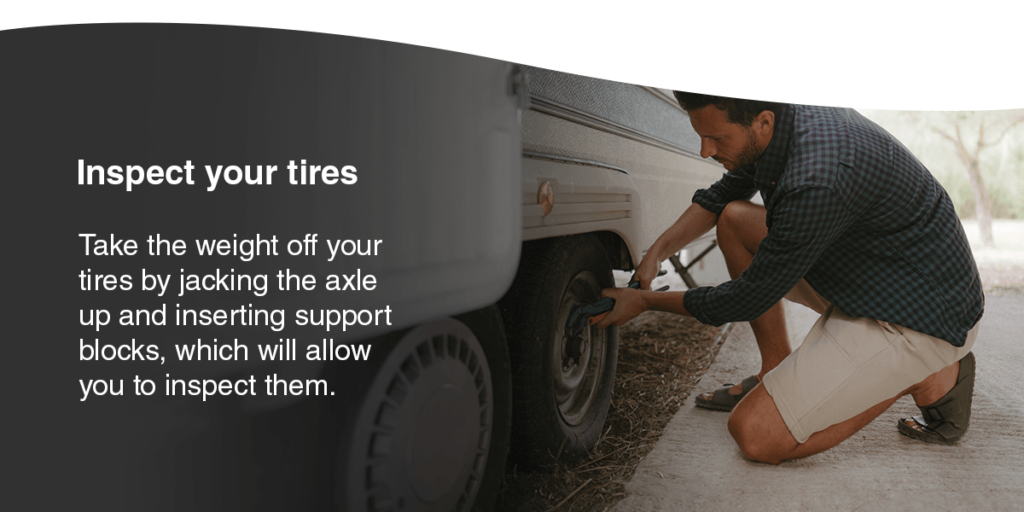
- Inspect your tires: Take the weight off your tires by jacking the axle up and inserting support blocks, which will allow you to inspect them. Examine the casing quality and tread depth and inspect the sidewalls for weathering. If the tread depth on your tires is less than 6/32 inches, you might have to replace them to maintain safe traction. If your tires are in good condition, inflate them to the right pressure, which will avoid flat spots. Cover them using tire covers.
Storing Your Travel Trailer Outside
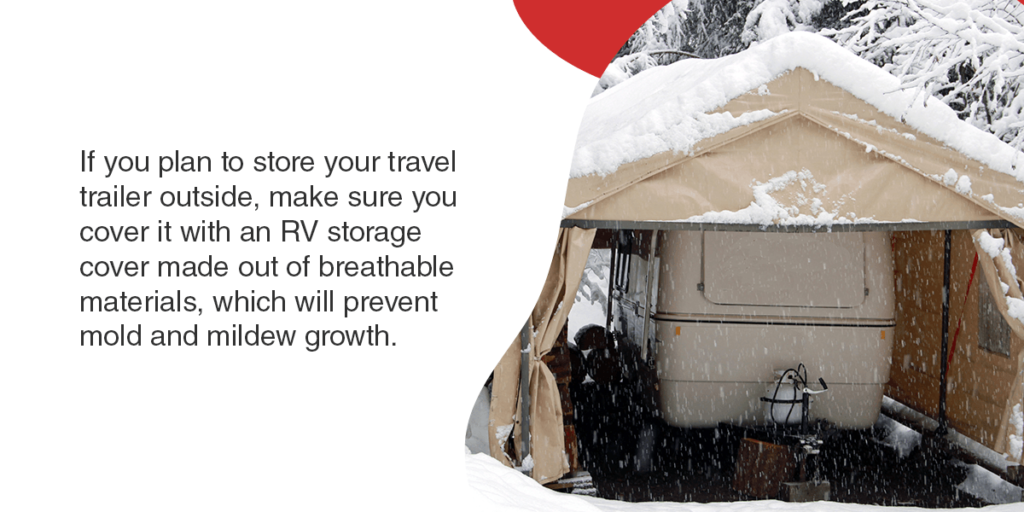
If you plan to store your travel trailer outside, make sure you cover it with an RV storage cover made out of breathable materials, which will prevent mold and mildew growth. Ensure that all windows and roof vents are covered. Getting the right size cover for your travel trailer is important, and your owner's manual may be able to provide information.
When storing your trailer outside during the winter, you may want to walk through it every several weeks. During this walk-through, you can take a quick look at everything and check your mouse traps.
Mistakes to Avoid When Winterizing Your Travel Trailer
Make winterizing your travel trailer easier by avoiding the most common mistakes:
- Forgetting to close low-point drains and wasting antifreeze
- Not flushing the water lines adequately
- Not bypassing the water heater before adding antifreeze
- Neglecting to drain the hot water tank
- Waiting too long to buy antifreeze and the supply runs short
- Failing to replace the water heater's anode rod or drain plug
When Should You Winterize Your Travel Trailer?
If you're wondering when to winterize your travel trailer — or whether it is necessary at all — it is recommended in two situations:
- If you're storing your travel trailer during the winter months
- If you're camping in very cold weather
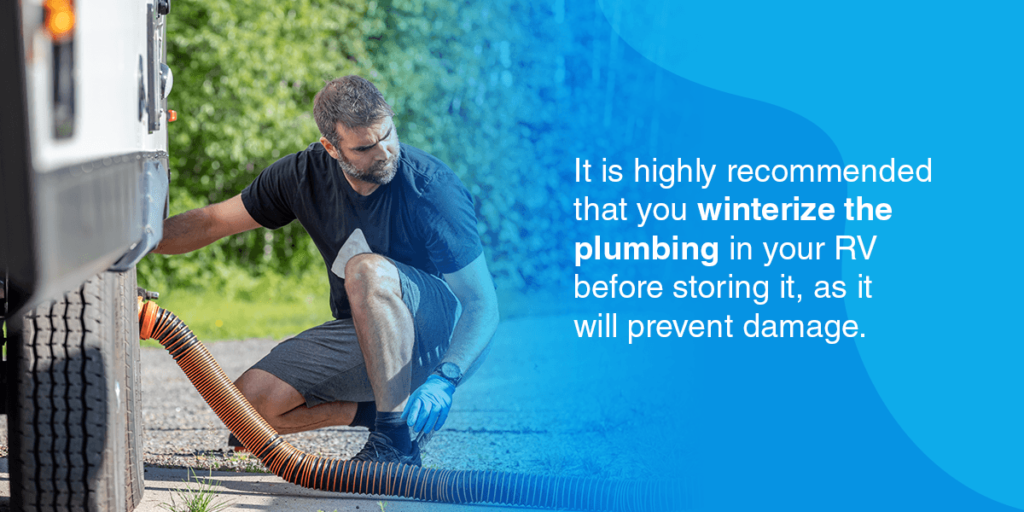
If you only camp part-time or on the weekends, there's a good chance you'll be storing your travel trailer during the coldest months of the year. If this is true for you, it is highly recommended that you winterize the plumbing in your RV before storing it, as it will prevent damage.
Even if you're a snowbird, winterizing your travel trailer may still be necessary, which will depend on how you travel, where you're located and how cold the temperatures are.
Generally speaking, even if you plan to use your travel trailer, you should still winterize if:
- The temperatures will be consistently under 20 degrees Fahrenheit.
- You cannot insulate and heat the underbelly of your travel trailer, or you don't have any heated tanks.
- You're boondocking and are limited as to when you can run the furnace.
Checklist for Winterizing Your Travel Trailer
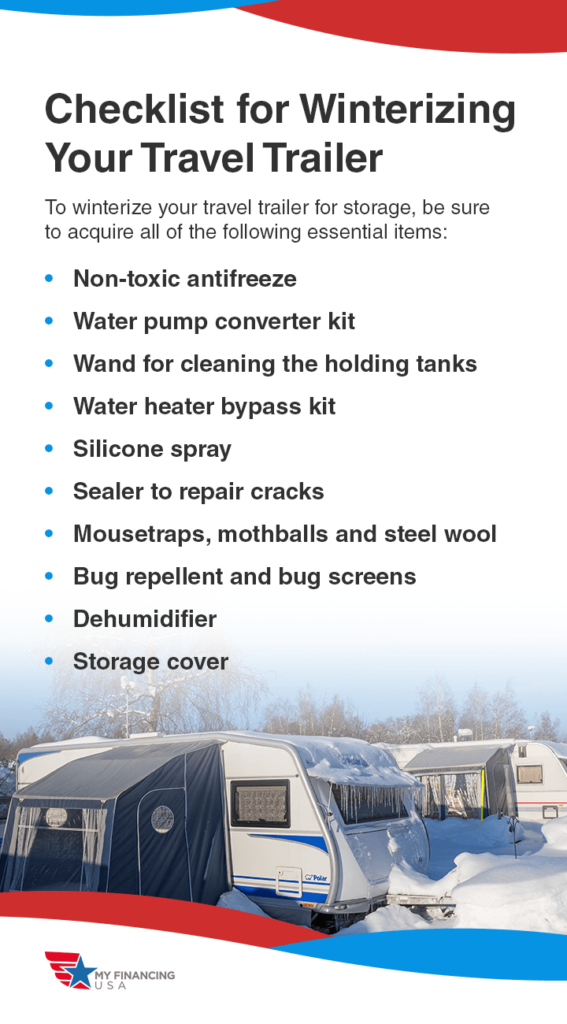
To winterize your travel trailer for storage, be sure to acquire all of the following essential items. We also recommend consulting your owner's manual for more information on how to winterize the specific model you have.
- Non-toxic antifreeze: Antifreeze prevents your trailer's pipes from freezing and, more importantly, from rupturing. Pipes can burst in the winter months because the water in them expands as it freezes, causing a pressure increase. While the amount of antifreeze you need will depend on your model, generally speaking, 2 or 3 gallons should suffice. Just be sure that the antifreeze you're using is non-toxic and made for RV use.
- Water pump converter kit: Once you install these kits, you can use them year after year. They let you bypass your fresh water supply line and allow you to use your water pump to fill your fresh water lines with antifreeze. These kits include a siphon hose, a three-way valve cap, pump adapters and Teflon tape, and you can easily install everything with an adjustable wrench.
- Wand for cleaning the holding tanks: If your trailer doesn't come with a built-in tank flushing system, a wand will be necessary to clean your holding tanks out completely. To make this job easier, we recommend using one with a spray nozzle and shut-off valve. This will help you eliminate unpleasant odors, keep the tanks sanitary and clean tank sensors if they're reading incorrectly.
- Water heater bypass kit: If you don't have one of these, the water heater in your camper will fill up with antifreeze before traveling through your water lines. This will be a major annoyance and waste lots of antifreeze. Installing these kits is easy, and you can easily remove them in the spring when you reconnect the system.
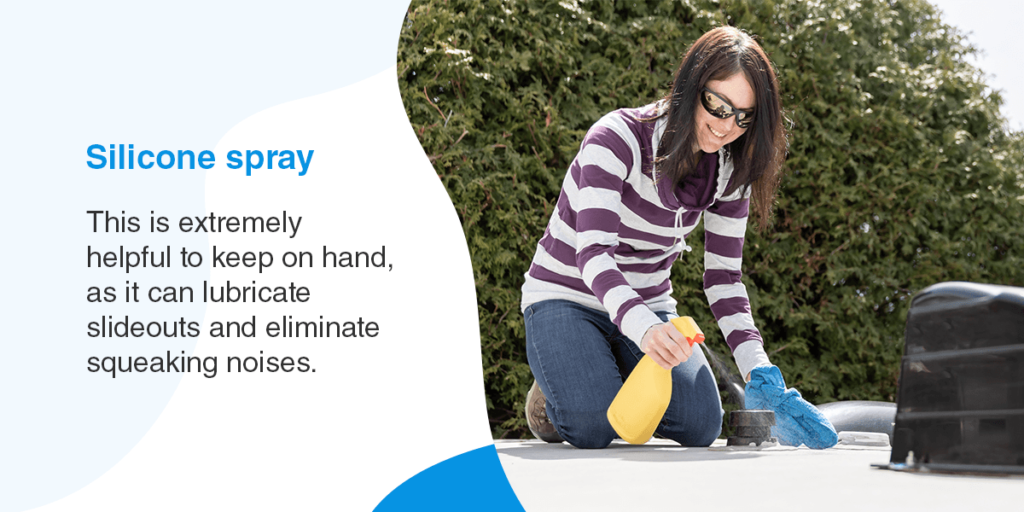
- Silicone spray: This is extremely helpful to keep on hand, as it can lubricate slideouts and eliminate squeaking noises. In the winter, you can also use it to waterproof the exterior of your trailer, minimizing rust. Silicone spray works on most surfaces, including metal, wood and plastic.
- Sealer to repair cracks: If your trailer's roof has cracks, you should repair them as soon as possible. Often, all you need is a clear, flexible sealant. Also, if your roof looks like it's aging, put on a coat of liquid rubber — the thick membrane it provides will protect your roof for five years or more.
- Mousetraps, mothballs and steel wool: These items are all highly recommended for keeping rodents from living in and damaging your trailer.
- Bug repellent and bug screens: Bug screens will prevent your trailer from being infested with cockroaches, ants and other insects over the winter. Spray doorways with pest repellent and put in bug screens over your water heater and furnace vents.
- Dehumidifier: If you live in a wet region like the Pacific Northwest, it's a good idea to leave a dehumidifier in your trailer to help absorb some of the moisture in the air. We recommend investing in a model that draws in moist air through the bottom, heats it up to dry it and then releases it back out through the top. The dehumidifier should also have a thermal cut-off switch, which makes it safer.
- Storage cover: You'll want to cover your trailer so it can look just as nice when you use it again in the spring. Trailer covers come in a variety of sizes.
Learn About Our Travel Trailer Loans
If you dream of owning a travel trailer and enjoying the flexibility it provides, My Financing USA can make that dream a reality. We do this by finding lenders who offer terms that you can afford. No matter what your financial goals are, getting a loan with us provides many advantages over going through one dealership or getting a personal loan.
Our loan process is simple and easy, and it only takes a couple of minutes to fill out the application. Applications can be funded in as little as 48 to 72 hours. Our services are available anywhere in the United States except Alaska and Hawaii. Begin your journey toward owning an RV by learning more about our financing process. You can also apply for a travel trailer loan today.
Apply for a Travel Trailer Loan