Quick Navigation:
- What Does It Mean to Winterize an RV?
- When Should You Winterize Your RV?
- How to Winterize Your RV
- Other RV Winterizing Tips
- Do You Have to Winterize Your RV?
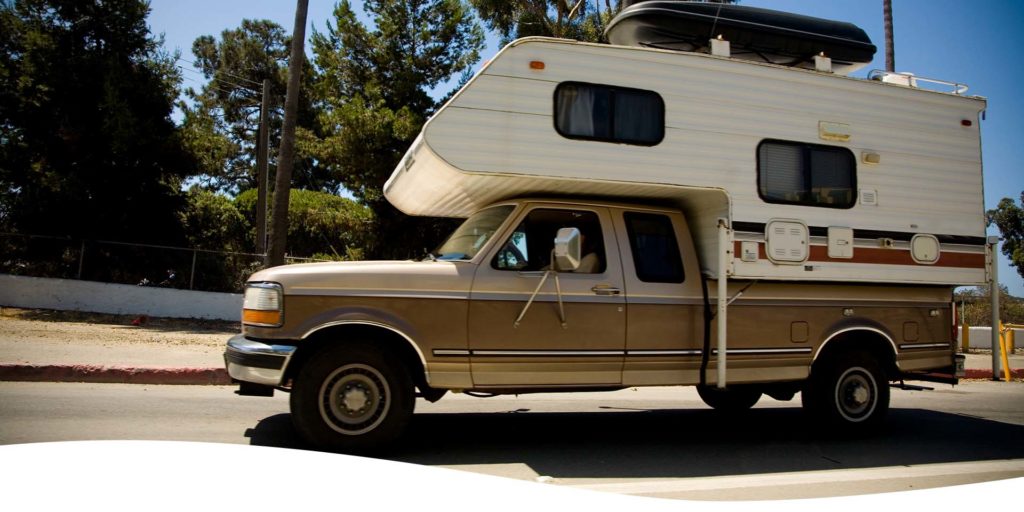
Owning a recreational vehicle (RV) or a motorhome lets you take trips you've only ever dreamed of, exploring the East Coast, West Coast and everything between. But when you're storing your motorhome or traveling in it for the winter, you can't forget about RV maintenance and winterization.
Winterizing your motorhome or RV is critical to avoiding damage and ensuring it will be ready to be used again in the springtime. Below, we'll go over why winterizing your motorhome is so important, how to winterize your RV or motorhome and when it should be done.
What Does It Mean to Winterize an RV?
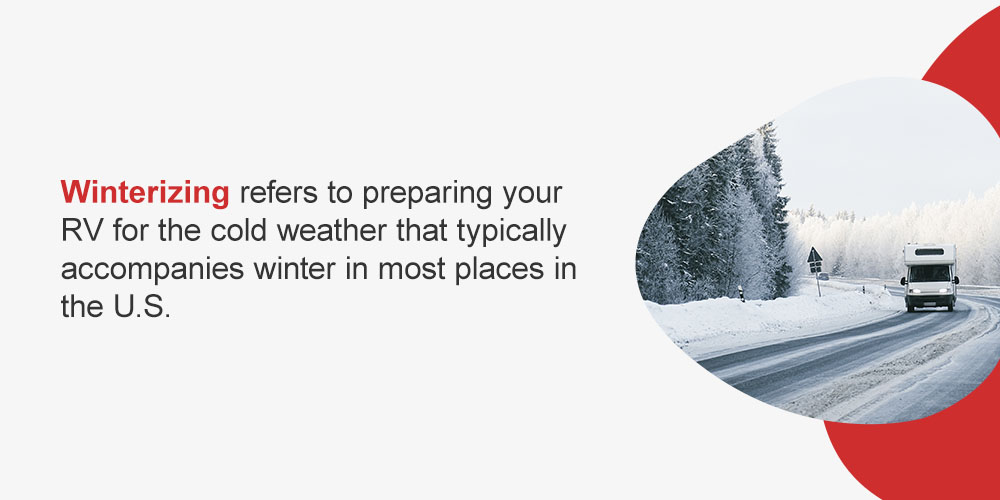
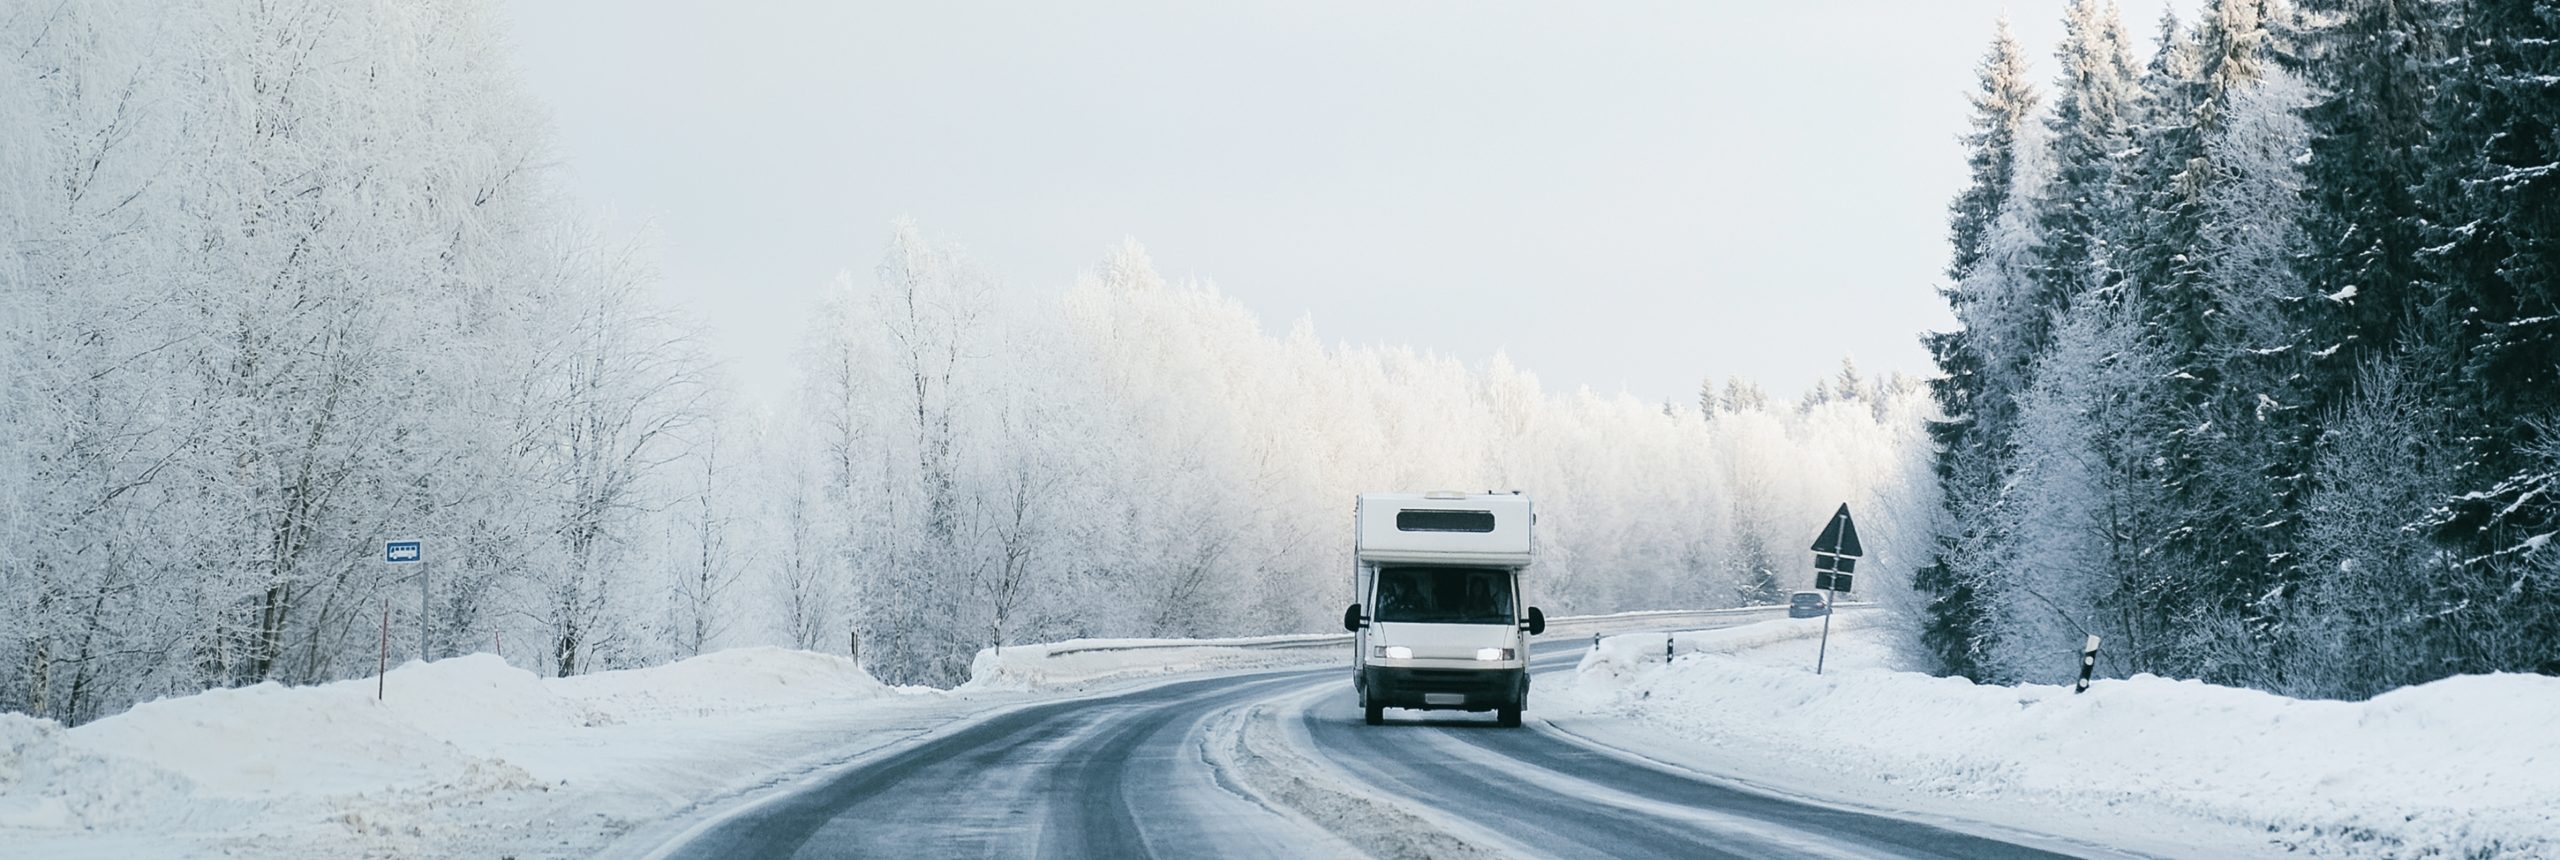
As the name suggests, winterizing refers to preparing your RV for the cold weather that typically accompanies winter in most places in the U.S. In most cases, an RV is winterized before being stored for several months when the weather is coldest.
There are many things you can do to prepare an RV for winter storage, which include closing vents and windows, cleaning the fridge, shutting off everything and storing your battery properly.
However, generally speaking, winterization refers to the process where the plumbing system is drained, which protects it against damage that can occur during the coldest months.
Why Winterize Your RV?
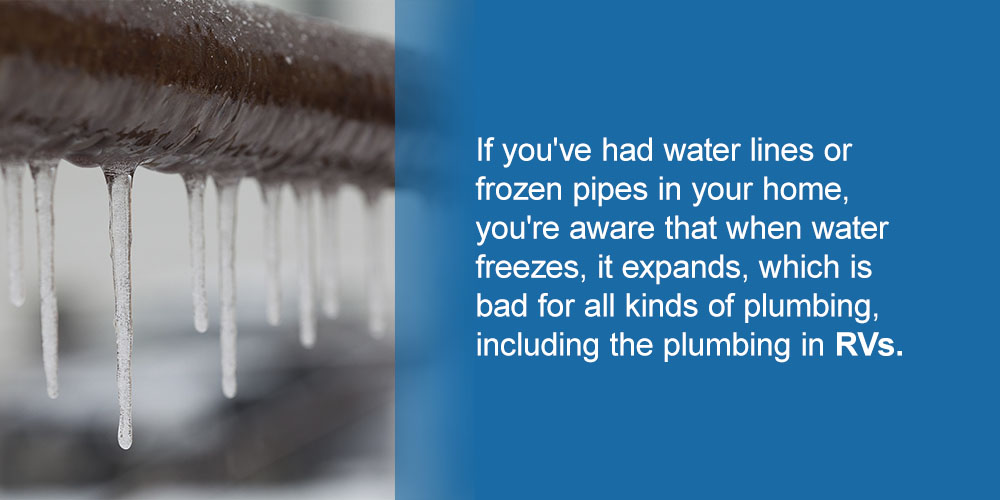
If you've had water lines or frozen pipes in your home, you're aware that when water freezes, it expands, which is bad for all kinds of plumbing, including the plumbing in RVs. Motorhomes are especially susceptible to winter damage, as they're not as well insulated as most brick and wood homes. If the water in your water lines or tanks freezes, it can crack connection points and pipes, which can lead to expensive repairs when spring rolls around.
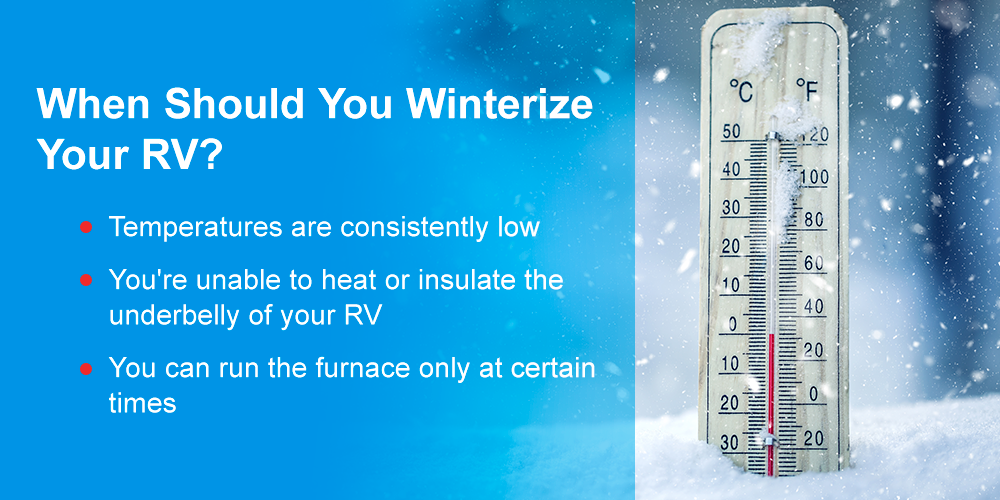
When Should You Winterize Your RV?
Here's when to winterize your RV:
- When storing your RV during the wintertime
- When camping in very cold weather
If you camp on the weekends or part-time, chances are you'll be storing your RV during the winter. If this is the case, make sure to winterize the plumbing on your RV before you store it. This will prevent damage.
However, even if you camp full-time or are a snowbird, winterizing your RV may still be necessary and will depend on where you are, how you're traveling and the low temperatures in the region. Even if you're using your RV during the winter, winterization is generally a good idea if:
- Temperatures are consistently low: If temperatures are consistently below 20 degrees Fahrenheit, consider winterizing your RV.
- You're unable to heat or insulate the underbelly of your RV: You should also winterize if your RV doesn't have heated tanks.
- You can run the furnace only at certain times: This is common when you're boondocking.
Winterizing an RV is also easy, and you can do it yourself. Depending on which method you use and your rig's size, the process shouldn't even take an hour. Whereas dealers could charge hundreds for winterizing your RV, doing it yourself can cost well under that.
How to Winterize Your RV
Here are two common methods for winterizing your RV.
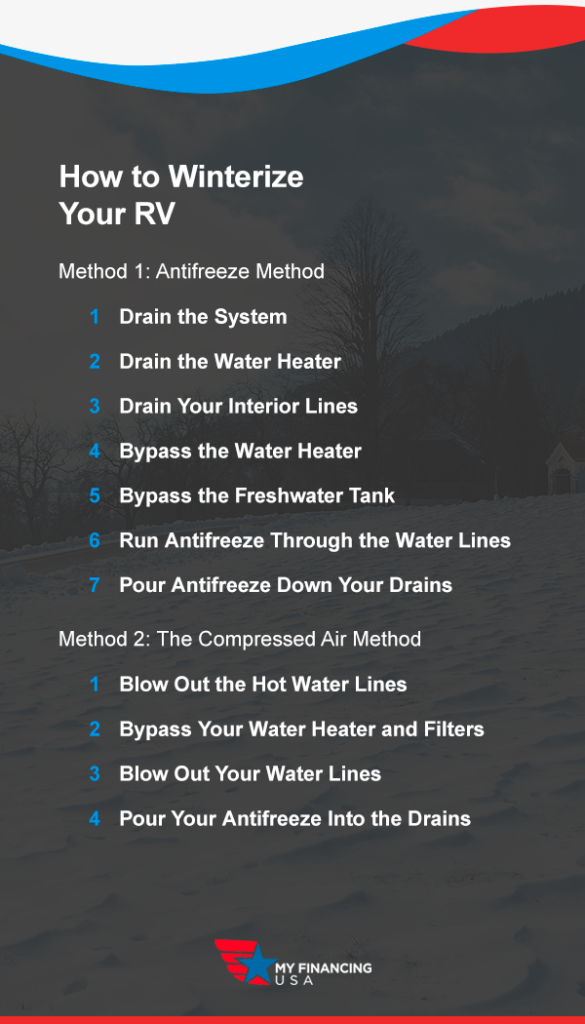
Method 1: The Antifreeze Method
The easiest, simplest way to winterize your RV's plumbing is with antifreeze. You've likely come across those gallon jugs of pink, blue, purple and other colors of liquid in a local auto store. But antifreeze for RVs is a particular formula that includes propylene glycol, which makes it less toxic than other antifreeze options. This formula is typically pink.
Since this antifreeze will be going through drinking water lines, buying nontoxic is absolutely critical. Under no circumstances can you use any other kind of antifreeze.
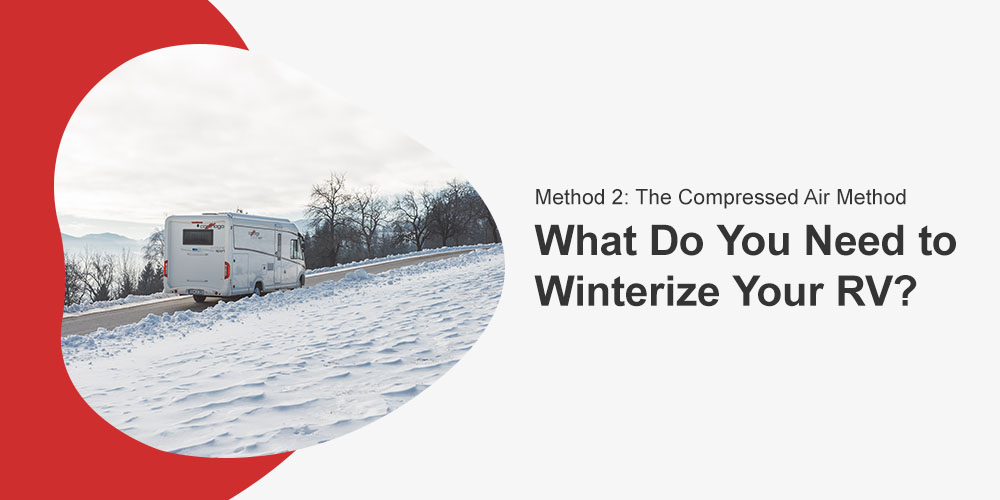
What Do You Need to Winterize Your RV?
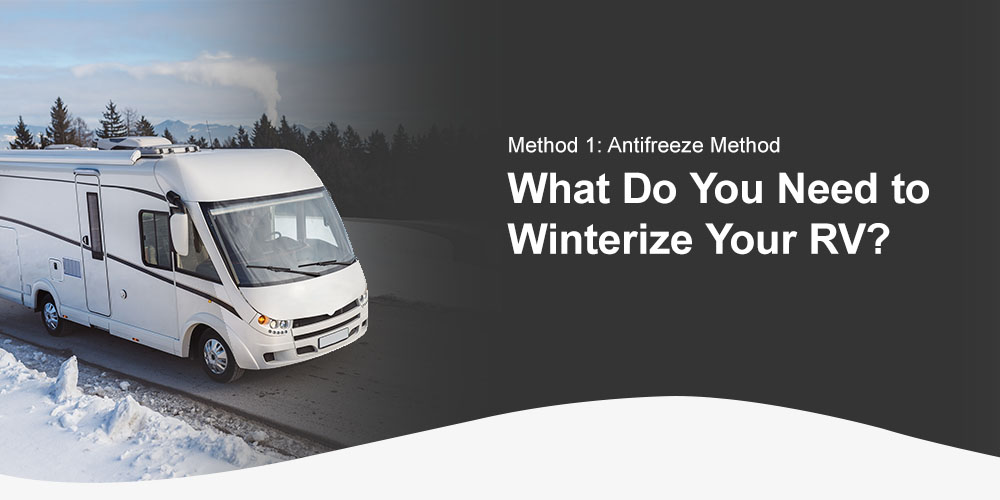
To use this method, you will need certain materials. Our RV winterization checklist is as follows:
- RV antifreeze: You will need to buy two or three gallons of antifreeze, depending on how large your rig is. The larger your camper, the larger amount you'll need.
- Water heater bypass kit: Some RVs have these pre-installed, in which case you won't need to buy one.
- Nozzle or flush wand for black tank: Some RVs already have these pre-installed, as well.
- Common hand tools: These will be used for removing and reinstalling the drain plug on your water heater.
- Converter kit for the water heater: This or tubing must be used to connect to the water pump's inlet side.
Before starting this method, you should also take a look at your owner's manual. While we go over the general steps needed for winterizing your RV, your owner's manual will include important specifications you must take into account for your specific RV. These include considerations like the maximum pressure that the RV's water lines can withstand and how the water heater must be bypassed.
Remember to consult your owner's manual first and throughout the process. But the general steps involved for this first method are:
1. Drain the System
This first step is very simple and should be done whenever storing your motorhome, no matter what the weather is like. It involves draining all the tanks in your RV, which you do by disconnecting and draining the freshwater hose, then turning off the water pump.
While connected to a sewer dump, empty out and flush the black and gray holding tanks to ensure they're prepared for storage. If your motorhome doesn't have a black tank flush built in, rinse the tank's inside out with a flush nozzle or cleaning wand.
Open up the freshwater tank's low-point drain, which will allow all the water from that tank to drain, too. Once finished, close the valve again. As you won't be adding antifreeze to the freshwater tank, when it's finished dripping, that's all you'll have to do.
Next, turn your water heater off and wait for a couple of hours before you move on to the next step.
2. Drain the Water Heater
It is critical that you turn off your hot water heater several hours before proceeding to this step. When you take off the drain plug, several gallons of water will rush out. To prevent getting burned, be absolutely sure that the water heater has been turned off and given adequate time to cool.
You must also ensure your system is not pressurized. To do so, disconnect from any water source, turn off the water pump and open up a hot water faucet before draining. Along with the pressure relief valve, those measures will make sure your system isn't pressurized when draining it.
The next step involves opening your pressure relief valve and removing the anode rod or drain plug. This will cause the water heater to quickly drain out, so make sure to keep your distance. If you have plans to clean out the water heater using a vinegar solution or tank-rinsing wand, this is the best moment to do this.
After the water heater has finished draining, wrap plumber's tape around the drain plug's or anode rod's threads, then reinstall it. If your RV has any inline water filters, make sure to take them out. Turn the valves necessary so these lines are bypassed before continuing.
3. Drain Your Interior Lines
With the dump valves from your gray tank open, the next step is to turn on all your faucets, both hot and cold. Remember to turn on all the faucets, including the toilet, kitchen wand and outdoor shower. Find and open up any low-point water drains, as well. Then, force out any water remaining in your lines by using your water pump. Run this pump only for a couple of seconds — once your system is dry, you'll want to turn your pump off quickly to avoid damaging it.
The next step is recapping all your drains and closing all your faucets. Then, close the valves on the gray tank and disconnect it from the sewer. Rinse your sewer hose and store it away.
4. Bypass the Water Heater
RVs often come installed with a bypass kit, and you can find out whether your RV has one by checking in your owner's manual. If so, your manufacturer will likely provide a diagram. In most cases, this bypass kit can be accessed when inside your RV and is usually behind your water heater, behind a removable panel or through your basement.
Bypassing your water heater especially important step, as you won't want to fill your tank with antifreeze. If you do, you'll be wasting antifreeze, and cleaning it out in the spring will be an unnecessary hassle.
5. Bypass the Freshwater Tank
In this step, you'll be running antifreeze through the water lines with your water pump. The objective is to draw antifreeze into the water lines of your RV directly but not into the freshwater tank. There are two options here, depending on your RV:
- You already have a winterization valve: You may have a pre-installed winterization valve, which would be located in your freshwater system. If you do, turn the valves to the necessary position to bypass your freshwater tank. There should be a diagram located either close to this system or in your owner's manual. If your RV comes with a winterization valve, it should also come with a tube you can put into a container of antifreeze directly.
- You need to purchase a kit: If your RV doesn't have this type of system pre-installed, you should get a water pump converter kit. Another option is disconnecting the line connecting the freshwater tank and water pump, then replacing it with tubing running from the water pump inlet into a gallon jug of antifreeze.
6. Run Antifreeze Through the Water Lines
With your water pump inlet tube inserted in the jug of antifreeze, turn your water pump on, which will pressurize your system. When doing this, you'll notice the antifreeze level going down as it travels into the lines.
Next, open every faucet up in your rig one by one to run antifreeze through your system. Do this with both cold and hot valves so both valves will be filled. Keep these faucets open until pink antifreeze begins to come out, then close them.
Run your antifreeze through all your lines, including the kitchen sprayer, drinking water taps, showers and toilet flush. Once you've finished, turn your water pump off.
7. Pour Antifreeze Down Your Drains
Keep the P-traps from freezing up by pouring one cup of RV antifreeze down each of your drains.
You should also pour roughly two cups in your toilet bowl, then flush it into your holding tank, which will prevent freezing of residual water. Next, pour one or two more cups into your toilet bowl and leave it there, which will protect the valve.
Once you've done that, the winterization process is complete. This method is popular because it's easy and can be done very quickly.
Method 2: The Compressed Air Method
This second winterization method, which involves the use of compressed air, is more thorough but also takes more time. It still requires RV antifreeze in addition to several other gadgets.
What You'll Need
If you'll use this method, add these items to your winterization checklist:
- Tankless air compressor: Look for an oil-free compressor that includes a built-in air filter. This will help ensure that no contaminants end up in your freshwater system.
- Blow-out plug: This serves to attach your air compressor to the freshwater system.
- Adjustable water pressure regulator: This attaches with your blow-out plug, which will protect the system from overpressurization. When setting the regulator, consult your owner's manual.
Start this method by following steps 1 and 2 from the method above, which involve draining your system and water heater. Disregard the instructions about replacing the anode rod or drain plug.
Once you've accomplished that, move on to these steps:
1. Blow Out the Hot Water Lines
Continue by closing your pressure relief valve located on the hot water heater. With your drain plug open, the next thing you'll want to do is connect the air compressor assembly — specifically the blow-out plug — to the freshwater inlet. Ensure you're using an adjustable air compressor or pressure regulator to avoid overpressurizing the water lines.
Next, turn the air compressor on and pump air through your lines. You'll notice that more water is coming out from the drain plug as the water is draining from your hot water lines. When finished, replace the drain plug or anode rod and ensure your water heater has been shut off for storage.
2. Bypass Your Water Heater and Filters
RVs often come with a pre-installed bypass kit, so check your owner's manual to see if this is the case for you. If you do have one, your manufacturer should provide a diagram. You'll most likely be able to access this system from the inside of your rig, and it is often located behind your water heater or behind a panel you can remove.
You'll also want to take out and bypass your inline water filters, as well.
3. Blow Out Your Water Lines
In this step, your water pump should always be turned off. Start by opening the low-point drains, then open all your faucets to their warm settings. After water is no longer coming out of the low-point drains, close these drains and shut your faucets off.
Next, open your faucets one by one on both hot and cold settings. Blow the compressed air through your system until it's just air coming out of your faucets. Doing this is much easier if you have a helper, but if it's just you, blowing air for around 30 seconds through each faucet should be enough. Just make sure you open just one faucet at a time, and remember not to forget the showerhead, kitchen sprayer, outdoor shower and toilet.
When draining your water pump, turn on the nozzle to your outdoor shower, then turn your water pump on. Don't run it for too long, as your freshwater system is now dry — the only thing you want to do is drain it. Compressed air can be used to blow out water from the line.
4. Pour Your Antifreeze Into the Drains
Now it's time to pour antifreeze down each of your drains, roughly a cup each. Doing so will prevent the freezing of your P-traps.
Then, pour about two cups of antifreeze in the bowl of your toilet, then flush it into the hold tank. Pour an additional cup or two in your bowl and leave it to prevent your valve from freezing up.
Close the low-point drain on your freshwater tank, close the gray valves and ensure the sewer hose you were using has also been drained. Store it away.
Other RV Winterizing Tips
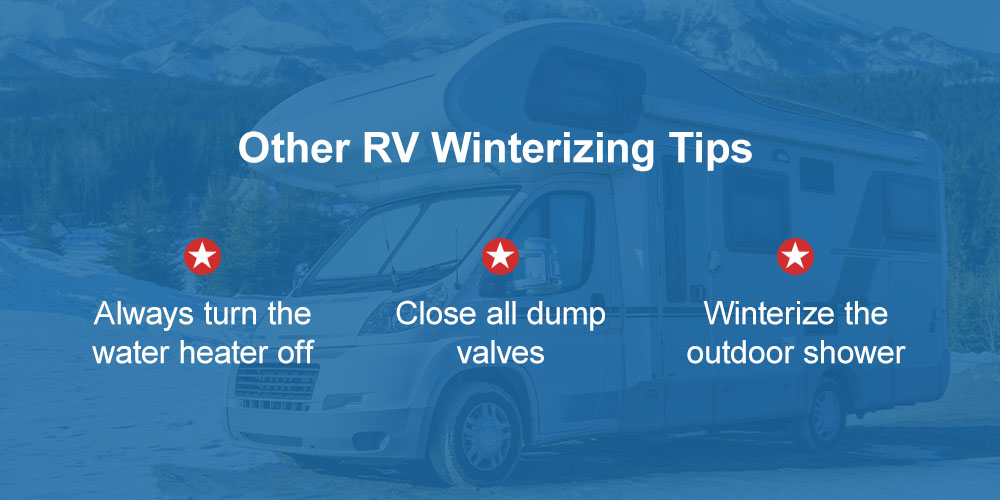
Regardless of the method you choose to use, keep the following tips in mind:
- Always turn the water heater off: This should be done even if your RV's propane tanks have been removed for the winter.You should also make sure your electric and propane switches are both turned off. Do this long before draining your water heater, as it will give the water time to cool off.
- Close all dump valves: You'll also want to make sure you close all low-point drains and faucets. You should also turn your water pump off before storing it.
- Winterize the outdoor shower: This one is easily forgotten, as it's an outdoor line. However, as this line is most exposed to the elements, it's extra important to winterize it.
Do You Have to Winterize Your RV?
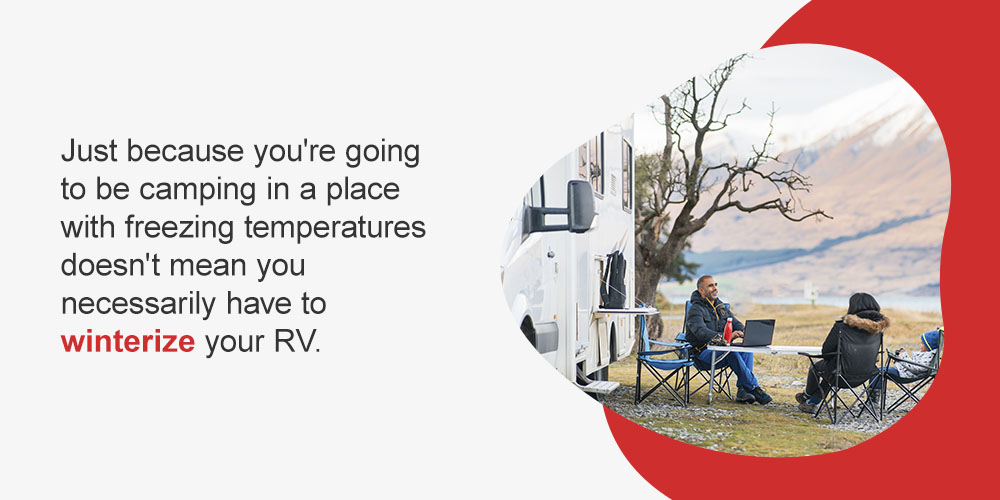
Just because you're going to be camping in a place with freezing temperatures doesn't mean you necessarily have to winterize your RV — many factors will determine if and how the lines will freeze.
For instance, if you're camping at a campground with hookups that allow you to run your heater overnight, and your RV's underbelly is heated or insulated, you'll be okay even if temperatures dip below freezing. If the temperature will be at or below 27 degrees Fahrenheit for an extended period, all you need to do is disconnect your freshwater hose from the spigot. Otherwise, you'll have to wait for your hose to thaw before using water in the morning.
If temperatures stay below freezing for extended periods of time, one thing you can do is fill your freshwater tank and disconnect it from your spigot.
Follow these steps to winterize your RV while living or camping in it when it's cold:
- Warm your hose up: If your RV park provides a freshwater connection, get a heated water hose. If you're not moving around much, we recommend that you buy heat tape and wrap the connection between the spigot and the hose, which will prevent the connection point from freezing.
- Skirt the RV: Skirting refers to covering up the gap between the ground and your RV's underbelly, preventing cold air from flowing underneath it. You can purchase custom-made skirts or build your own from materials like plywood.
- Run your heater: Once your skirt is in place, place an electric heater in the space under your RV, which will prevent your underbelly from freezing.
- Leave your water running: On nights when it's particularly cold, we recommend leaving one of your faucets open, which will allow some water to move through your system constantly. However, if you're in an area that is experiencing a drought, you should avoid letting your water drip.
Learn About RV Loans From My Financing USA

If you dream of being an RV owner, My Financing USA will provide you with financing options that fit your needs, regardless of your credit. We help people find great financing options with optimal terms. Learn more about our RV and motorhome loans, and if you're ready to apply, start our easy and secure application process.