
Quick Navigation
- What Does It Mean to Dewinterize Motorhomes?
- When Is the Best Time to Dewinterize RVs and Motorhomes?
- How to Dewinterize Your RV: Different Motorhome Classes
- What Do You Need to Dewinterize Your RV?
- How to Dewinterize Your Motorhome on a Budget
- RV Dewinterization Tips
- 10 Steps to Dewinterize RVs
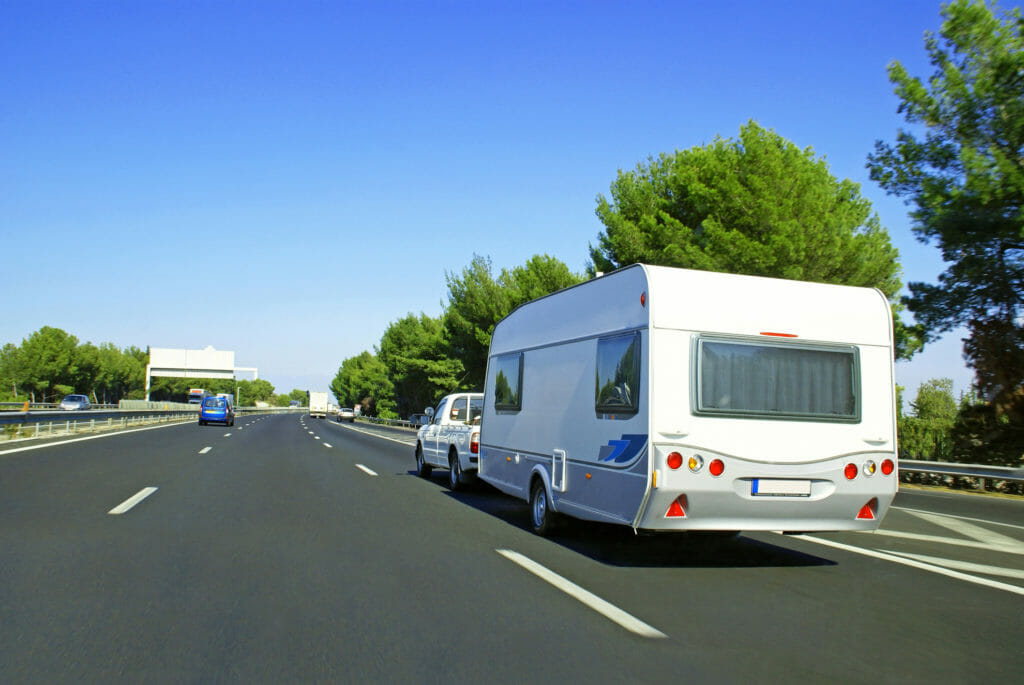
Summer is just around the corner, and with the weather warming up and snow days quickly becoming a thing of the past, it's finally time to get your RV ready for the season. Before you get swept away in the excitement of your upcoming adventures, you have to pull your RV or motorhome out of storage and get it ready for the new season. After all, spring cleaning starts with dewinterizing!
You may already have an idea of how to dewinterize a motorhome since you went through the process of winterizing it just a few months ago. However, dewinterizing comes with its own list of tasks and procedures. We're here to answer all of your dewinterizing questions, from when to dewinterize RVs and how to avoid common mistakes to providing you with the ultimate RV dewinterizing checklist.
We'll show you step by step how to dewinterize RVs and motorhomes so you can get your vehicle out of storage and ready to hit the road.
What Does It Mean to Dewinterize Motorhomes?
Just as winterizing means getting your RV ready for storage in freezing temperatures, "dewinterizing" is preparing your vehicle for use in warm weather.
You reverse the steps of draining the plumbing systems and interior lines, remove antifreeze and prepare the interior and exterior appliances for regular use. Dewinterizing requires you to go through all of your motorhome's systems to ensure that they survived the coldest season without sustaining damage. If you miss a critical checkpoint, you could put your RV at risk.
With clear RV dewinterizing instructions, the entire process should take a couple of hours to a few days, depending on the state of your motorhome.
When Is the Best Time to Dewinterize RVs and Motorhomes?
When the cold temperatures start to let up and spring is waiting just around the corner, all you can think about is, "When can I dewinterize my RV and go on a vacation?" But just like with all good things, dewinterizing needs to be timed right.
One of the most important steps to winterizing your RV is preparing your water system by flushing and draining it, as well as adding antifreeze. Winterizing your water system with antifreeze is a crucial step because when water freezes, it expands and can damage your tanks, lines and pipes.
If you start dewinterizing too soon, you run the risk of your water and plumbing systems freezing and cracking. Therefore, the best time to dewinterize RVs is when the temperatures stay above freezing, both during the day and at night.
10 Steps to Dewinterize RVs
When taking your motorhome out of storage, your first thought might be, "What do I need to do to dewinterize my RV quickly and efficiently?" When you're eager to hit the road, you don't want to waste any time. Below, we take you through the entire process to dewinterize your RV.
1. Check the Exterior
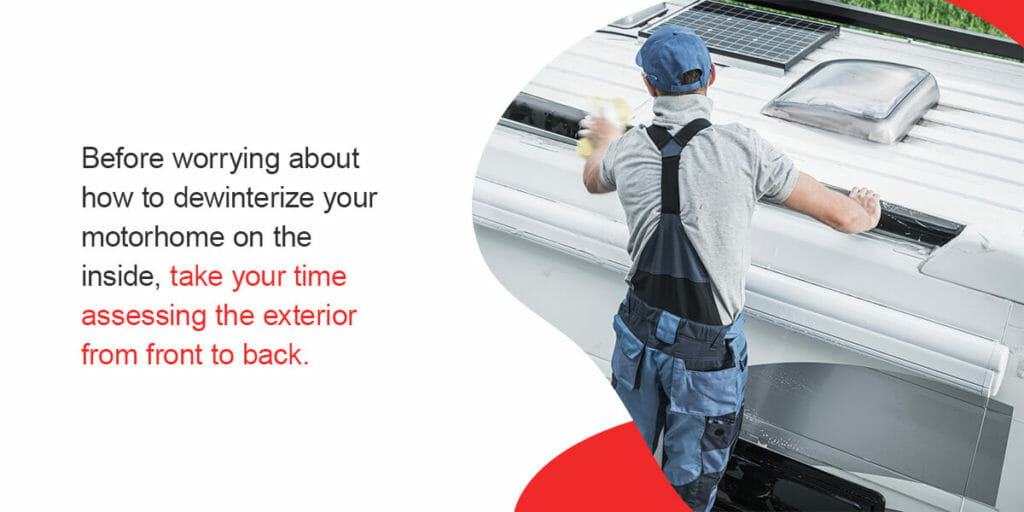
Consider this first step your opportunity to ease into the dewinterizing process. Before worrying about how to dewinterize your motorhome on the inside, take your time assessing the exterior from front to back.
First, take a general visual appraisal, walking around the vehicle and inspecting it for any signs of damage. You should be able to identify leaks and cracks in the sidewalls, as well as peeling around the window sealant right away. If you kept your RV outside for the winter, don't forget to check the roof for signs of damage. Heavy snowstorms can cause erosion, structural damage and cracked seams.
If your RV is a towable camper, you will want to examine the hitch components for weakening and decay. Other areas to focus on include:
- Tires: When stored during the winter, your motorhome's tires will lose a significant amount of air pressure, which is absolutely normal. Operating your motorhome with deflated tires will cause uneven wear and difficulty controlling the vehicle. Leaving your tires underinflated can also increase your risk of an accident. When inspecting the tires, remember to include your spares!
- The awning: If your motorhome has an awning, ensure it deploys and retracts correctly. You'll also want to lubricate the mechanisms to prevent them from jamming in place.
- Solar panels: Many RV owners install solar panels to save money and reduce emissions. However, snow accumulation and hail can cause your panels to crack and even damage the structure holding them in place. Small animals and birds may also take advantage of your uninhabited motorhome and build nests in the space under the panels.
- Under the rig: Lastly, look underneath your rig for animal nests. Your motorhome provides the perfect shelter from harsh winter winds and snowfall, so beware of animals lurking under your motorhome before moving it.
2. Check the Engine
When you winterize an RV engine, you fill the fuel tank and add antifreeze to the radiator. Now that the weather is warming up, you might be wondering, "How do you dewinterize an RV engine that hasn't been used in months?"
The first thing you should do is check all the engine fluids, including:
- Oil
- Coolant
- Brake fluid
- Transmission fluid
- Power steering fluid
- Windshield washer fluid
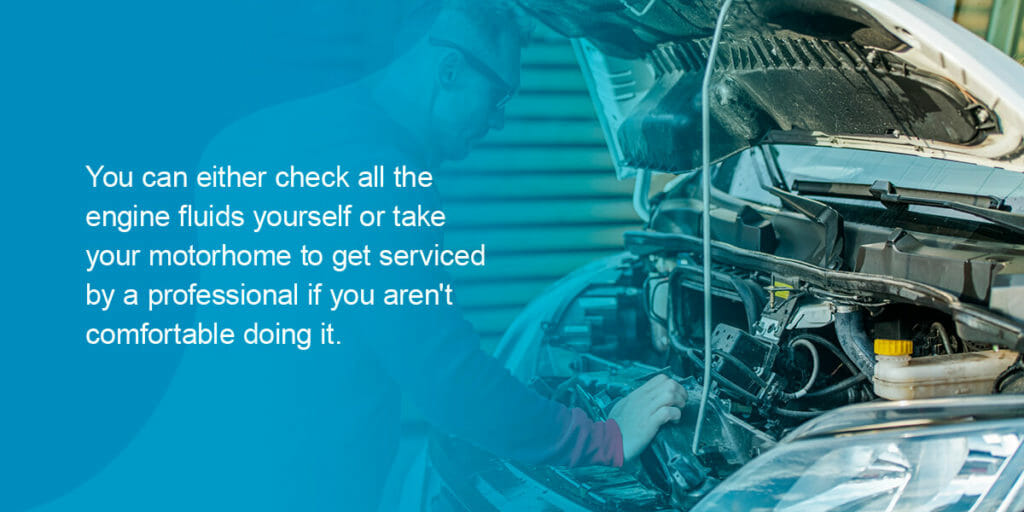
You can either top off these yourself or take your motorhome to get serviced by a professional if you aren't comfortable doing it. However, if you find a leak anywhere, take your motorhome to a mechanic instead of attempting to repair it yourself.
You'll also want to make sure the lights, indicators and controls all work.
3. Flush and Drain Your Water System
Dewinterizing RV water systems can be a significant task. Your plumbing is one of the most critical systems in your motorhome and requires extra care.
Dewinterizing RV antifreeze is the first step, as it needs to be flushed out of the plumbing system before you use it. Winterizing a motorhome takes approximately 2 to 3 gallons of antifreeze. While RV antifreeze isn't toxic, you should flush it out entirely before you use your water system. The best way to dewinterize RV water systems is to wash the antifreeze out by flushing fresh water through the plumbing system. You can use a water pump to flush the city water inlet or water holding tank.
Next, turn on the faucets and flush clean water through the system until it runs clear. If you didn't bypass your water heater, you would have to drain the antifreeze from it as well. If you winterized your freshwater holding tank, you would have to drain and flush it before filling it with potable water.
The last step in dewinterizing your water system is to sanitize it by combining household bleach with water, then pouring it into the water holding tank. Continue pouring the water tank with potable water until it's full. Switch on the water pump, open the faucets and flush with water until you can smell bleach from the faucet openings.
Turn the faucets off and allow them to sit overnight. In the morning, drain the system and refill the water tank with potable water once again. Turn the faucets on one last time and allow the water to run until the bleach smell goes away.
4. Charge and Reinstall the Batteries
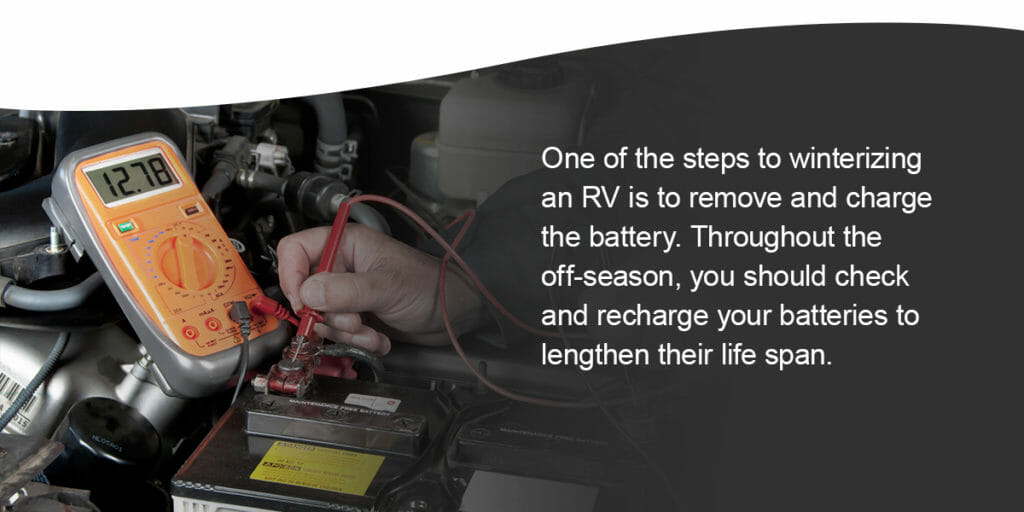
When you dewinterize your RV, you can't forget to check and recharge your motorhome's batteries. One of the steps to winterizing an RV is to remove and charge the battery. Even though batteries sit unused, they still lose some of their charge over time. Throughout the off-season, you should check and recharge your batteries to lengthen their life span. Don't forget to check the water level in the batteries as well. If the water level is low, just add distilled water until you reach the proper level.
5. Replace the Propane Tanks
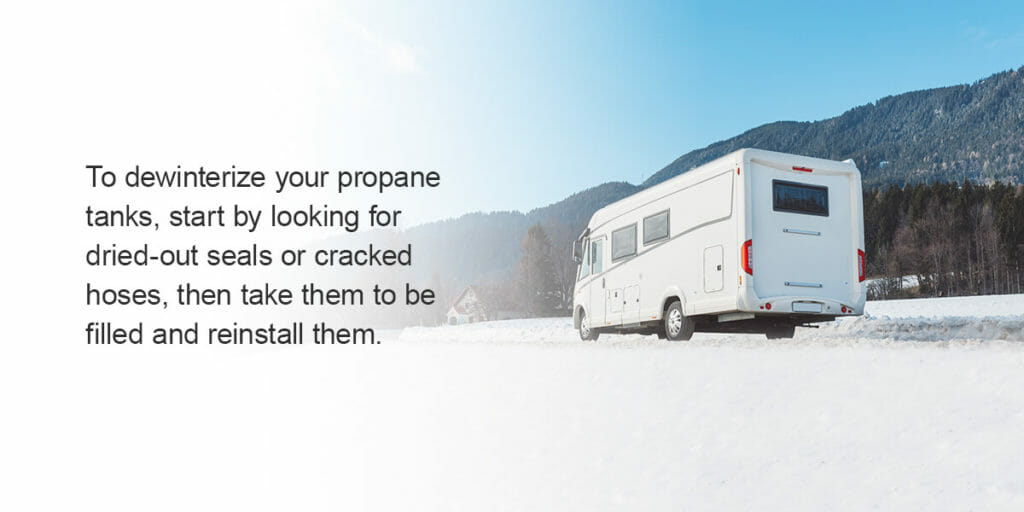
To dewinterize your propane tanks, start by looking for dried-out seals or cracked hoses, then take them to be filled and reinstall them. Make sure the valves are turned off, then install the propane tanks by connecting the hose. To ensure that the hose is tight in place, turn on the valve just a little bit so the gas line is opened.
Then, wash the hose connectors with soapy water. If you see any bubbles forming, that is a sign that there is a leak. Continue tightening the fitting until bubbles no longer appear.
While you're dewinterizing the propane tanks, you should also inspect the exhaust tubes for insect nests.
6. Check the Generator
Next, it's time to dewinterize the generator. If you routinely turned it on throughout the winter, then it should start up without a problem. If you didn't turn it on or use a fuel stabilizer, it most likely won't start.
Before you inspect the generator, check your exhaust for erosion. If it has any signs of damage, do not operate the generator and take it to a professional mechanic right away. Next, check the oil level. If it's low, then you should take your generator to a mechanic who can service it. If both the exhaust and oil are normal, then test the generator by turning it on.
While the generator is on, turn the air conditioning unit on to make sure the generator is powering the RV. If you have any issues with your generator, take it to a professional rather than trying to fix it yourself.
7. Check Windows and Air Vents
Windows and air vents are two of the most forgotten areas during dewinterization. They aren't part of major systems and aren't typically opened or turned on until later in summer. However, they are easy and quick to check. Here is how to dewinterize your RV windows and air vents.
First, check the seals and body seams of your doors and windows. Then, open, close and lock all doors and windows to verify that they are working correctly. Finally, use a vacuum or hose to clean your window and door screens to clear them of dust and dirt.
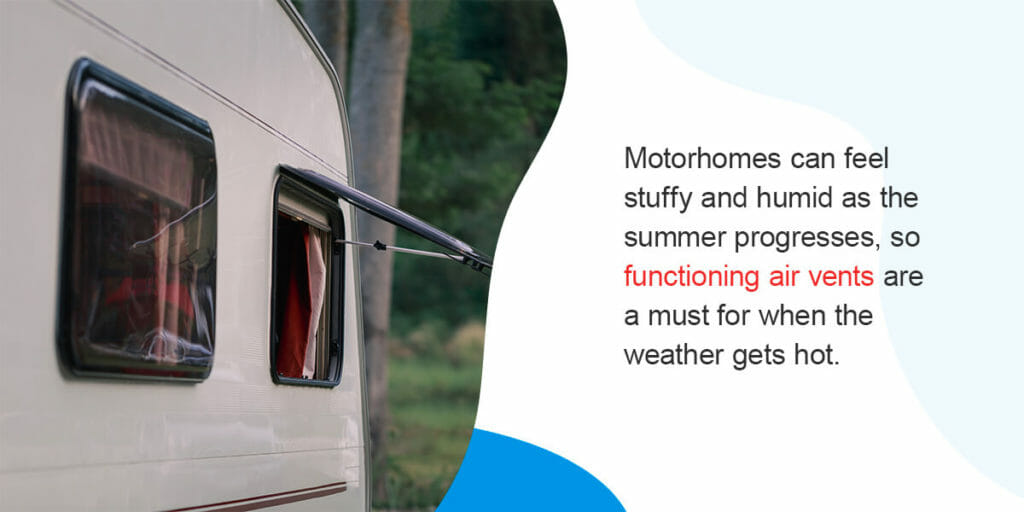
Next, turn your attention to the air vents. Motorhomes can feel stuffy and humid as the summer progresses, so functioning air vents are a must for when the weather gets hot. Your air vents also prevent toxic fumes from building up. If your air vents are in working condition, all you have to do is run a wet washcloth over them to remove debris and dust.
8. Change the Filters
You can't dewinterize RVs without giving the air and water filters a once-over. When spring maintenance rolls around, it's time to change out your air and water filters. Changing the filters for your water system and air conditioner will improve the function and efficiency of these systems. Air filters can accumulate dust, which is easily removed with water if you have reusable filters. If not, you can just swap them out for brand new ones. Make sure that you always clean your air conditioning filters before turning on your AC system.
9. Check Appliances

Kitchen and living area appliances can break down at any time. Since they have been unplugged for many months, you'll want to check that all your outlets and appliances are in working order. To dewinterize an RV propane appliance, plug each unit in one at a time and see if they get sufficient power. Plug in your electric appliances, such as your microwave and television, to test them as well.
The idea is to test every outlet and appliance throughout the process. When testing the refrigerator, turn it off and open the doors to bring it to room temperature. When you have access to an electrical hookup, plug it back in to use.
10. Check Safety Devices
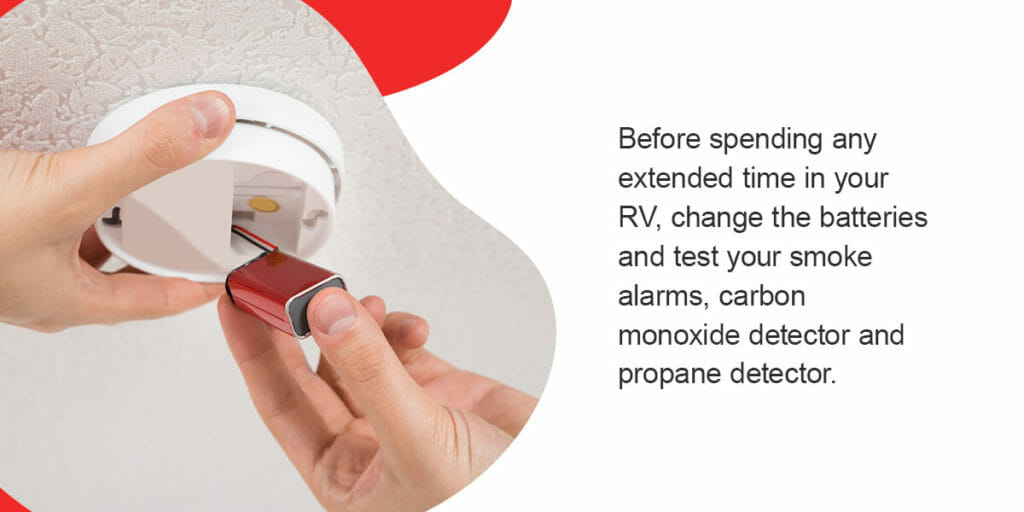
You don't want to get on the road only to realize you forgot to dewinterize your RV safety systems. Motorhome safety devices keep you and your family safe. So before spending any extended time in your RV, change the batteries and test your smoke alarms, carbon monoxide detector and propane detector.
You should also make sure that your fire extinguisher is up to date and operational. If you have a dry powder extinguisher, take a moment to shake it up to release powder that settled at the bottom of the tank. You should also review your safety plans and refresh your memory on how to use a fire extinguisher and safety procedures, such as CPR and the Heimlich maneuver.
How to Dewinterize Your RV: Different Motorhome Classes
Most RVs require similar steps of dewinterization. However, with different motorhome classes, you might need to take a few extra steps to get your RV ready for travel. This section covers simple tips on how to dewinterize Class A, Class B and Class C motorhomes.
As the largest types of RVs, Class A motorhomes offer many extra storage compartments, spacious rooms and luxurious amenities. Here is how to dewinterize a Class A motorhome that needs a little extra care:
- Make sure your headlights and cockpit functions are operational.
- Sanitize and clean all of your living spaces and storage areas.
- Flush and drain your laundry machines and dishwasher.
- Turn all your breakers back on and test each one.
- Check your motorhome hydraulic jacks for leaks and corrosion.
You might be wondering how dewinterizing a Class B and Class C RVs is different. The main difference with these more compact designs is that the all-in-one wet bath holds your sink, shower and toilet in one tight space. Since you rely heavily on this basic water system and don't have the same luxuries as Class A motorhomes, you'll want to give this area special attention and check carefully for leaks and cracks. However, the process of draining and flushing the water systems is generally the same across all the RV classes.
What Do You Need to Dewinterize Your RV?
Now that you know how to dewinterize your RV, your head is probably buzzing with lists of cleaning supplies and tools that you need to complete the process. Our dewinterization RV checklist is here to help! Here are the items you'll want on hand to dewinterize your motorhome or RV:
- Multi-surface cleaner
- Bleach
- Latex gloves
- A garden hose
- Cleaning rags
- Sponges
- Garbage bags
- Potable water
- Air filters
- Water filter
- Car wash solution
- RV wax
- Caulking
- Lubricant
- UV protectant
- Air freshener
- Extra batteries and chargers
How to Dewinterize Your Motorhome on a Budget
After reading all the steps to dewinterizing your RV, you might be wondering what this entire process is going to cost you. Dewinterizing an RV requires many cleaning supplies and a considerable amount of your time, and you might be worried about the final price tag. The good news is that you can do many of these steps at home with supplies you may already have and with little to no help at all. As you get acquainted with your second home over the years, the dewinterization procedure will become easier and faster every time.
Some RV owners prefer to do the work themselves and enjoy spending the day maintaining their motorhome. However, if you would rather be behind the wheel than cleaning your camper, you can always take your motorhome to a professional. This will save you time and effort, although it will cost more than doing it yourself.
Learn About Motorhome Financing
RV Dewinterization Tips
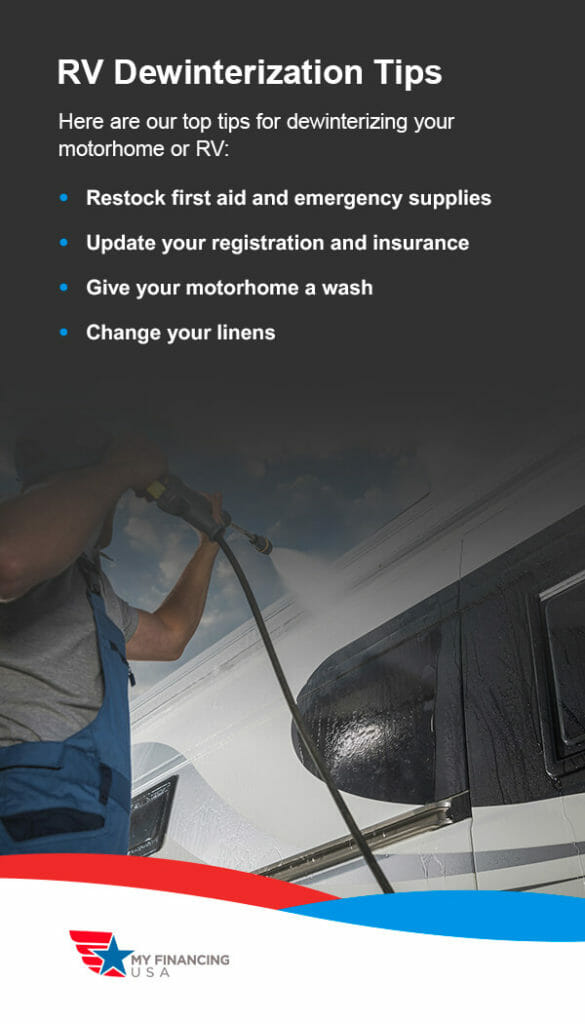
Here are our top tips for dewinterizing your motorhome or RV:
- Restock first aid and emergency supplies: Don't get caught in an emergency without bandages or pain medication. Take a few minutes to take inventory of your emergency supplies before venturing out on your first vacation.
- Update your registration and insurance: It's always a good idea to go over your insurance policy before taking the RV out for a spin. Update any new drivers and basic information with your insurance company, and double-check that your registration is updated.
- Give your motorhome a wash: Start the season with a clean slate and a clean motorhome. Washing your RV is the final step to completing the dewinterizing process.
- Change your linens: Finally, make sure to change and clean your bed sheets, hand towels and washcloths. Between dust mites and bacteria, you don't want to sleep in musty bedding or use dirty towels.
Learn About RV and Motorhome Loans From the Experts at My Financing USA

Let the experts at My Financing USA find the loan that's right for you! Without jumping through hoops or putting your credit at risk, our experts find you the rate you want, so you don't have to put your travel plans on hold. We lay out all the facts with our RV Loan Guide and Motorhome Loan Information Page, so there's no second-guessing or confusion when it comes to your finances or vacation.
As the one-stop shop for your financing needs, our friendly staff does all the work for you, so you can get the best rate personalized to meet your budget. Take the next step towards living your best RV life and fill out our streamlined RV and Motorhome Loan Application. Within 72 hours, we'll reach out to you with a customized plan fit for your specific needs and expectations.