
As an RV, camper, or motorhome owner, you understand the joy and freedom of the open road, but just as you prepare for your adventures, it's equally important to prepare your vehicle for the off-season, especially if you live in an area that experiences freezing temperatures. Protecting your investment from the harsh realities of winter is not just recommended; it's essential.
At My Financing USA, we've helped countless individuals and families finance their dream RVs, and we know that proper maintenance, including winterization, is key to preserving its value and functionality for years to come. Neglecting to winterize your RV can lead to costly and extensive damage, particularly to the plumbing system, water lines, and water heater, which can crack and burst when water freezes and expands.
This comprehensive guide will walk you through the necessary steps to properly winterize your RV, camper, or motorhome, ensuring it remains protected throughout the cold winter months. Generally, you should begin the winterization process before temperatures consistently drop below freezing (32°F or 0°C).
Essential Supplies for RV Winterization
Before you begin, gather the following items to make the winterizing process smooth and efficient:
- Non-Toxic RV Antifreeze: This specialized antifreeze is designed for potable water systems and is safe for your RV's plumbing. The amount you need can vary, but typically 2-3 gallons are sufficient for most RVs, travel trailers, or motorhomes, depending on their size and the length of the water lines.
- Water Heater Bypass Kit (if not already installed): Many newer RVs come with a bypass system, but if yours doesn't, this kit allows you to bypass the water heater, saving you several gallons of antifreeze.
- Tools for Draining: This might include a wrench for your water heater drain plug or anode rod, and a hose for draining tanks.
- Wand for Flushing Black Tank: To thoroughly clean your black tank.
- Water Pump Converter Kit (optional but recommended): This allows your RV's water pump to draw antifreeze directly from its container.
- Air Compressor with Regulator (optional): If you choose to blow out your water lines instead of using antifreeze for parts of the system, a compressor set to a low pressure (30-40 PSI maximum) is needed.
Step-by-Step RV Winterization Process
Follow these steps carefully to ensure your RV, camper, or motorhome is fully protected against the cold.
Step 1: Drain All Water Tanks
The first crucial step is to empty all your RV's water tanks. This includes the fresh water tank, gray water tank, and black water tank.
- Drain the Fresh Water Tank: Locate your fresh water tank drain valve, typically on the underside of your RV, and open it completely. Allow all the water to drain out.
- Drain and Flush Black and Gray Water Tanks: Empty your black and gray water tanks at a designated dump station. After emptying, flush the black tank thoroughly with water until the discharge runs clear. You can use a black tank flush system if your RV has one, or a special wand inserted through the toilet.
- Close All Drain Valves: Once all tanks are empty, close their respective drain valves.
Step 2: Drain the Water Heater
Protecting your water heater from freezing is vital. This step also prepares it for bypassing.
- Turn Off Power: Ensure the electric heating element switch is off, and turn off the propane supply to the water heater.
- Release Pressure: Open a hot water faucet inside your RV to release any built-up pressure in the system.
- Remove Drain Plug: Locate the drain plug at the bottom of your water heater and carefully remove it. If your water heater has an anode rod, remove that as it often serves as the drain plug. Allow the water heater to drain completely.
- Bypass the Water Heater: This is an important step. Once the water heater is drained, engage the bypass valves. This prevents antifreeze from entering and filling your hot water tank, which would waste antifreeze and be difficult to flush out in the spring. If you don't have a bypass kit, consider installing one. Reinstall the drain plug or anode rod after draining and bypassing, but do not turn on the water heater again until spring.
Step 3: Drain the Water Lines and Introduce Antifreeze
This is where you protect your RV's intricate plumbing system. You can use a compressed air method or the RV antifreeze method. The antifreeze method is generally more thorough for beginners and highly recommended for full protection.
Method A: Using RV Antifreeze (Most Common and Recommended)
This method ensures every part of your water lines is protected from freezing. It’s crucial not to put RV antifreeze in your fresh water tank for storage; it goes directly into the plumbing system.
- Access the Water Pump: Locate your RV's water pump. Many RVs have a direct connection line near the pump that allows you to draw antifreeze directly from its container, bypassing the fresh water tank. If yours doesn't, you may need to install a water pump converter kit or temporarily disconnect the water line from the fresh water tank side of the pump and insert it into the antifreeze jug.
- Add Antifreeze to the System: Place the open jug of non-toxic RV antifreeze near the pump. Turn on the water pump. It will begin to draw antifreeze into the system.
- Open Faucets One by One: Starting with the faucet closest to the pump, open the hot water tap until pink antifreeze comes out. Then, close it and open the cold water tap until pink antifreeze comes out.
- Protect P-Traps and Drains: Pour a cup or two of RV antifreeze down each drain (sinks and shower) to ensure the P-traps are filled with antifreeze. This prevents residual water in the traps from freezing and cracking. A little antifreeze can also be poured into the black tank directly through the toilet to help protect the valve.
- Close Faucets: After you see pink antifreeze from each faucet and toilet, close them. Do you leave faucets open after winterizing RV? No, you close them once the antifreeze has run through to ensure it sits in the lines.
- Low-Point Drains: Briefly open any low-point drain valves until antifreeze comes out, then close them.
Method B: Blowing Out Water Lines (Requires an Air Compressor)
This method uses compressed air to clear water from the lines. While effective, it can sometimes leave residual water that might still freeze. Many RVers prefer to follow this with antifreeze for added protection.
- Connect Air Compressor: Attach an air compressor with a pressure regulator (set to 30-40 PSI maximum) to the city water inlet of your RV.
- Open Faucets: Starting with the faucet closest to the city water inlet, open each faucet (hot and cold), one at a time, until only air comes out. Then close that faucet and move to the next. Repeat for the kitchen sink, bathroom sink, shower, toilet flush, and exterior shower.
- Low-Point Drains: Open your RV's low-point drain valves until only air comes out, then close them.
- Protect Drains and Toilet: Even if blowing out lines, you should still pour some RV antifreeze down each drain and into the toilet bowl to protect the P-traps and toilet seal from freezing.
Step 4: Attend to Other Systems and Components
Beyond the water system, several other areas of your RV need attention before winter storage.
- Batteries: Disconnect your RV's batteries. If storing your RV for an extended period, especially in extremely cold conditions, it's best to remove the batteries, clean the terminals, fully charge them, and store them in a cool, dry place where they won't freeze. If you leave your motorhome plugged in all winter, ensure it's connected to a smart charger or converter that maintains the battery without overcharging it, and still check battery water levels periodically.
- Propane Tanks: Turn off the main valve on all propane tanks. You can leave the tanks in place, but ensure they are secure.
- Exterior Preparation:
- Clean the exterior thoroughly.
- Check all seals and caulking for cracks or gaps that could allow water or pests to enter.
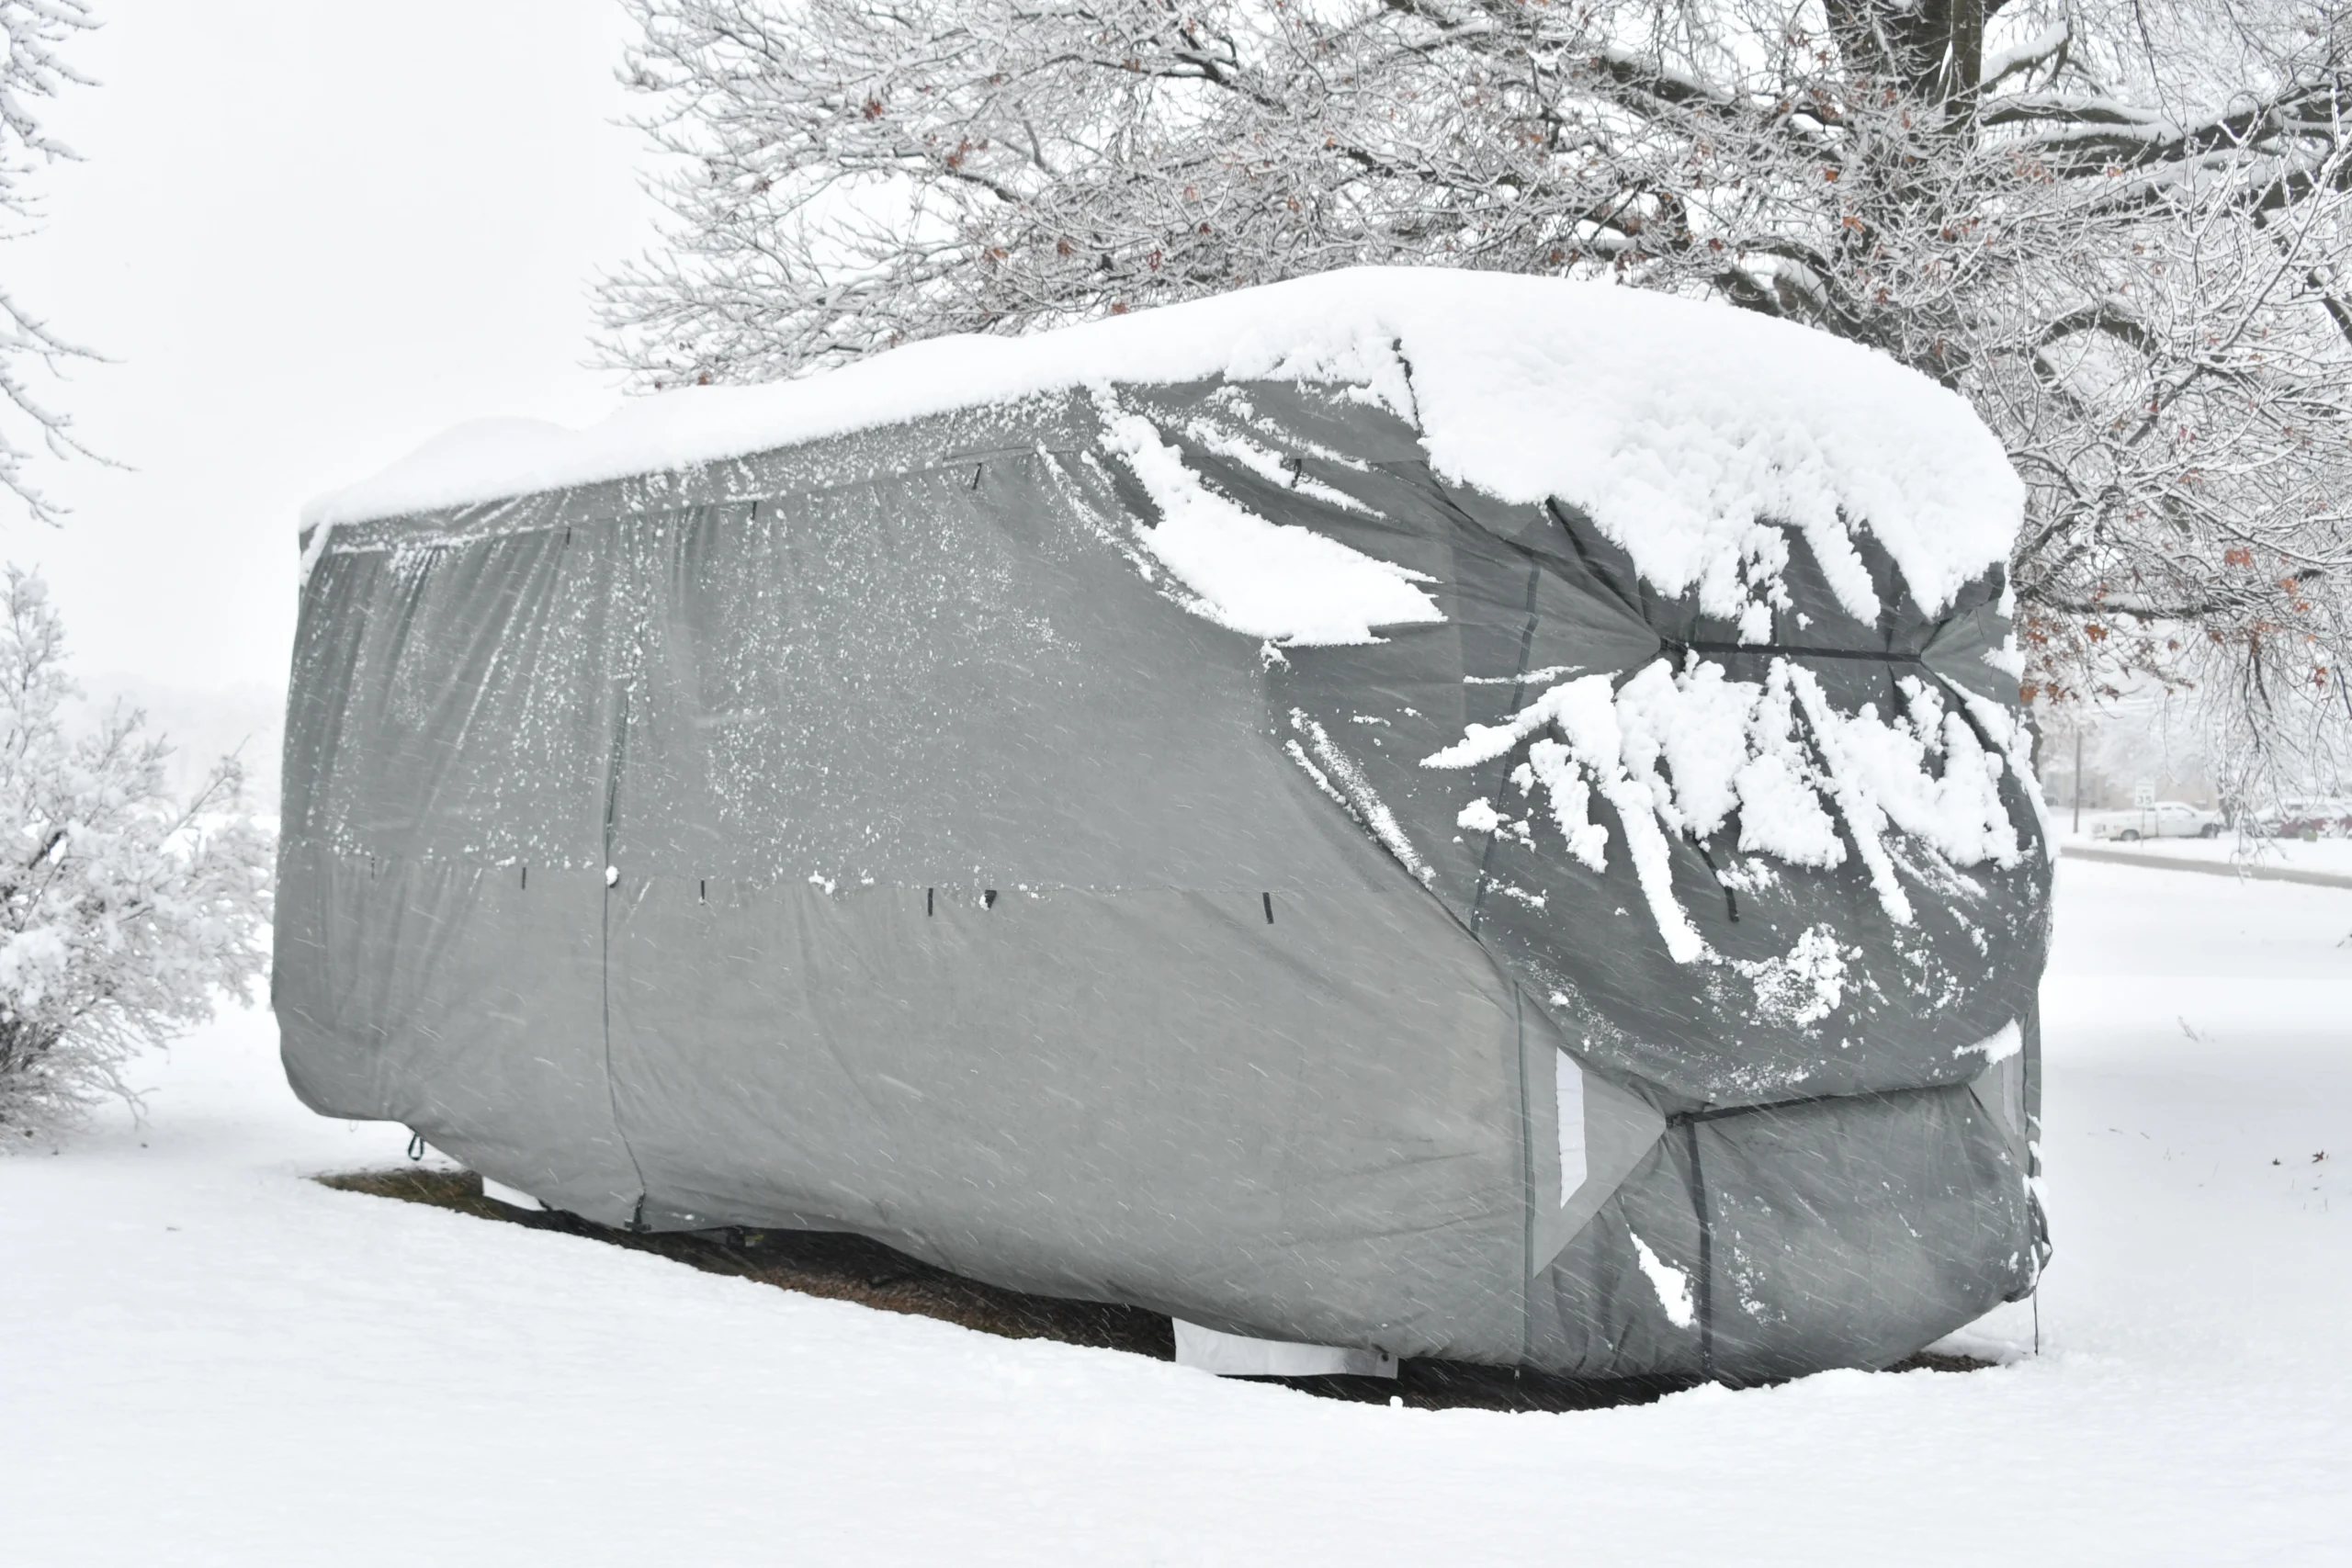
- Cover your RV if you plan on long-term outdoor storage to protect it from harsh weather, but ensure the cover is breathable to prevent moisture build-up.
- Inflate tires to their recommended pressure and consider using tire covers to protect them from UV damage. If storing on concrete, place a barrier (like wood blocks) under the tires.
- Interior Preparation:
- Remove all food items, especially perishables, to prevent spoilage and attracting pests.
- Empty and clean the refrigerator and freezer, leaving their doors propped open slightly to prevent mold and mildew.
- Remove any valuables or electronics that could be damaged by extreme temperature fluctuations. Can you leave a TV in a camper over the winter? While TVs are generally fine, electronics can be sensitive to extreme cold and rapid temperature changes, so removing them is ideal if possible.
- Ensure all cabinets and drawers are empty and clean.
- Place moisture absorbers inside the RV to combat humidity.
- Set out mouse traps or repellents to deter pests.
- Do not heat your motorhome in winter continuously, as this is expensive and only necessary if you plan to use it. Proper winterization eliminates the need for constant heating to prevent freezing.
Important Considerations for Winter Storage
- Storage Location: Decide whether you will store your RV indoors (heated or unheated) or outdoors. Indoor storage offers the best protection from the elements.
- Pest Control: Mice and other critters can cause significant damage during the winter months. Take preventative measures, such as sealing small openings and using repellents.
- How Long Can You Leave an RV Winterized? You can leave an RV winterized indefinitely. The non-toxic RV antifreeze is stable and will continue to protect your plumbing system as long as it remains in the lines.
- How Long Does It Take to Winterize a Trailer? For a beginner, properly winterizing an RV, camper, or motorhome can take anywhere from 1 to 3 hours, depending on the size and complexity of your unit and whether you choose the air blow-out method or the antifreeze method.
De-Winterizing Your RV (A Quick Look)
When spring arrives and you're ready for your next adventure, you'll need to de-winterize your RV. This typically involves flushing the antifreeze out of your plumbing system with fresh water and sanitizing your fresh water tank and lines. You'll run water through all faucets until it runs clear, usually for several minutes for each tap, ensuring all antifreeze is removed before using the system for drinking water.
Getting Ready for the Road Ahead
Properly winterizing your RV, camper, or motorhome is a crucial step in responsible ownership, protecting your investment and ensuring countless future adventures. It might seem like a complex task at first, but by following these steps, you can confidently prepare your unit for the colder months.
At My Financing USA, we are dedicated to being a trusted resource for RV owners, from helping you secure the financing for your dream unit to providing valuable guides like this one. We understand the joys of RVing, and we're here to help you every step of the way.
Considering an RV, camper, or motorhome for your next adventure? Or perhaps you're looking to upgrade? We at My Financing USA are here to help you navigate your financing options. Apply now and let us help you turn your RV dreams into a reality.
Apply Online in Minutes and let our team help you explore your options to get you on the road to your dream adventure!
FAQs:
What is the minimum credit score required to qualify for a loan?
We can work with credit scores as low as 550. Our programs are designed to help customers across a wide range of credit situations, including those with past credit challenges.
How long are the loan terms available?
We offer loan terms of up to 20 years, giving you the flexibility to choose a repayment schedule that works best for your budget and goals.
What is the minimum loan amount I can apply for?
Our loan starts at $10k. This applies to both dealer and private party purchases.
What interest rates do you offer?
What types of purchases are eligible for financing?
We finance both dealer and private party purchases and can approve loans for LLCs, trusts, and full-time RVers. We do not finance park models or schoolies..
Can I finance and RV or boat if I'm a full-time traveler?
Yes. We offer financing options designed for full-time RVers and boaters.