Quick Navigation:
- Why Should I Winterize my Camper?
- When Do I Need to Winterize My Camper?
- What Do I Need to Winterize My Camper?
- How Do I Winterize My Camper?
- Winterizing the Interior of Your RV
- Additional Steps for Motorhomes
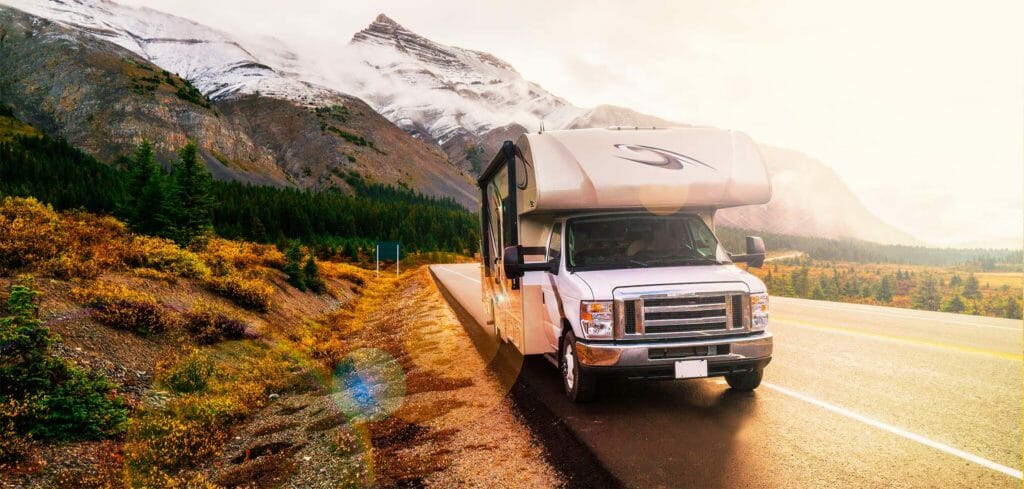
Winterizing is a critical part of RV ownership as it protects you from frozen pipes and rodent infestations, both of which are problems that can cause thousands of dollars in damage. In this guide, we'll take you through the steps to winterize a camper for winter living when away from home.
Why Should I Winterize My Camper?
Winterizing your RV camper is important for several reasons, including:
- To prevent pipes from freezing: Water expands when it freezes. If water expands in your pipes, it will have nowhere to go and burst out the sides of the pipe. Burst pipes are costly and can also leak slowly in places that are hard to detect, such as under a sink. If these leaks go undetected for long periods, they can cause extremely costly damage.
- To prevent tanks from freezing: If water is left in your grey, black and freshwater holding tanks, it will also freeze and expand, and this expansion may crack the holding tanks, which could create thousands of dollars of damage.
- To keep out rodents: If your RV isn't protected against rodent invasions, mice can gain entry and destroy your wiring, furniture and other sensitive items. In many cases, unchecked rodent invasions can cost thousands.
- To prevent your battery from dying: If you fail to winterize your RV, your battery may stop working due to freezing temperatures. For this reason, it is recommended that you finish the winterization process by taking out your RV's batteries and safely storing them in a safe place that doesn't get too cold or too hot.
When Do I Need to Winterize My Camper?

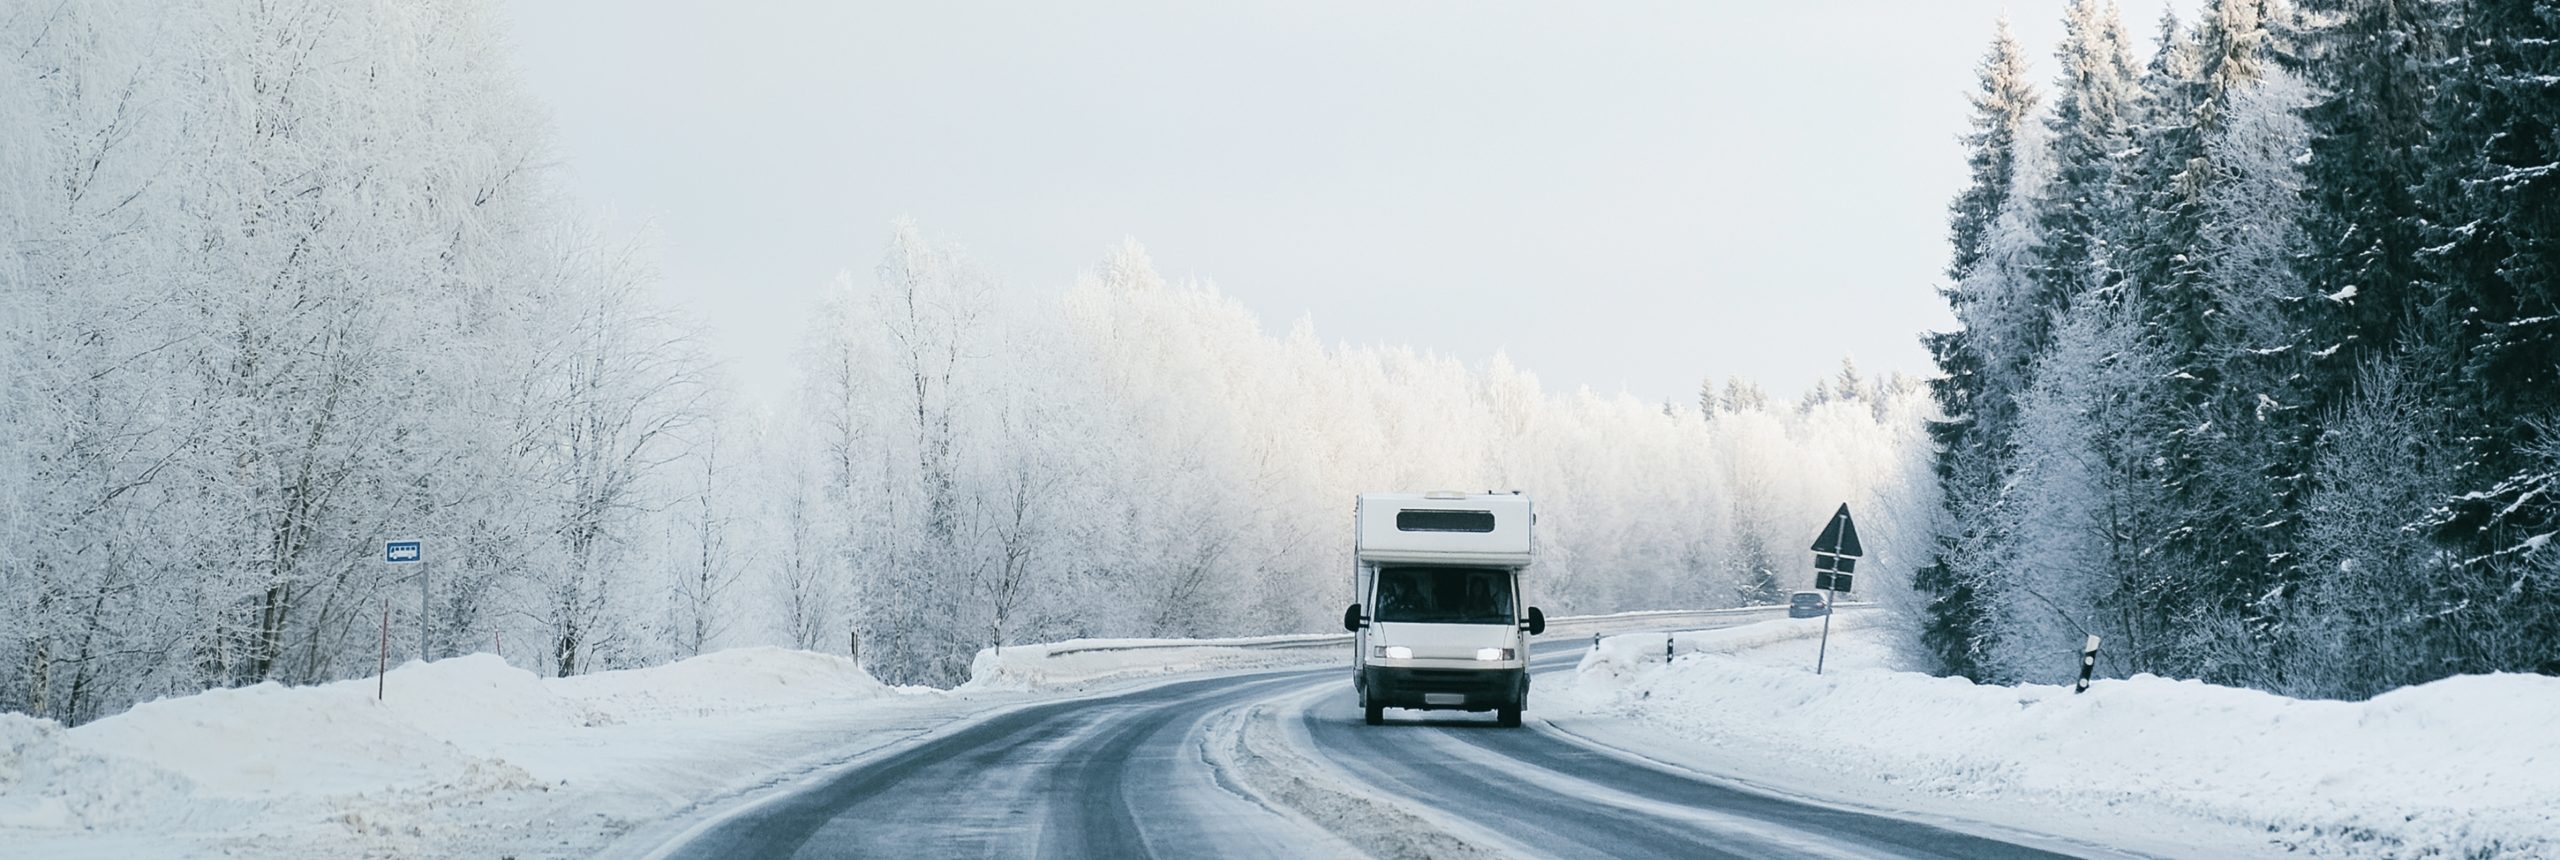
If you're wondering when to winterize your camper, the answer is fairly simple — if you're going to store your RV over the winter, you should winterize your RV. Winterization is important no matter where you are in the US — even in Southern Florida. This is because freezes do still happen, and all it takes is one freeze to destroy sensitive pipes.
If you're planning to do some camping in the winter, you'll have to consider a few other factors when figuring out if you want to winterize your camper:
- The temperature will drop below freezing for over 10 hours: In some parts of the US, such as Northern Arizona, the temperatures may drop below freezing at night, then warm up during the daytime. In such climates, winterizing is often not necessary. Instead, you can heat your camper at night and get your water from a heated water hose. This should allow you to camp in your RV in the winter without having to winterize it.
- Your camper is four-season: True four-season campers feature amenities like thick insulation, a heated underbelly and heated tanks. If your camper is four-season and you want to use it in the winter, winterization is usually not necessary — just make sure to keep your heat on and keep the tanks heated.
- You're open to "dry camping": Even if the RV you have was not designed to handle the winter, camping in it is still possible — you just have to winterize your pipes and not use water as you usually would.
If none of the above situations apply, it's probably best to store your camper in the winter.
What Do I Need to Winterize My Camper?
When winterizing your camper, you'll have to gather:
- RV antifreeze: You must purchase the non-toxic version of RV antifreeze. RV antifreeze can be found at any RV store and is pink. Under no circumstances can you use car antifreeze to winterize the water lines in your RV because it's toxic, and running it through the water lines in your RV can be harmful, sometimes even fatal. When buying your antifreeze, confirm with the store that you purchased the right type. You'll need about two or three gallons of antifreeze to winterize a camper, depending on its size.
- A helper: Although not a strict requirement, winterizing your camper is much easier if a partner assists you while putting antifreeze in the water lines.
- Water pump converter and winterizing kit: The water pump on your RV helps run antifreeze through the pipes, thereby winterizing the RV. However, to accomplish that, you need an adapter.
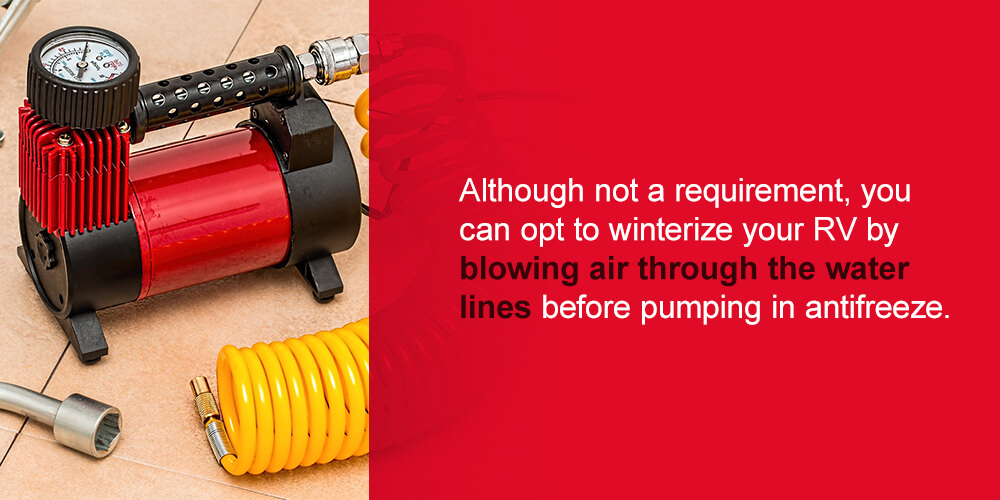
- Air compressor and RV blow-out plug: If you opt to blow air through the water lines before adding antifreeze, you'll need an RV blow-out plug and an air compressor. Blow-out plugs can be bought at all RV stores and are designed to connect the city water to your air compressor, allowing you to deliver air to the pipes in your RV.
- A wrench: This might come in handy when taking off the drain plug from the water heater.
- Rodent traps and repellents: Buy whatever is necessary to keep these unwanted visitors out of your camper.
How Do I Winterize My Camper?

The two best ways to winterize a fifth-wheel camper or motorhome are:
- Option 1: Filling the water lines with a non-toxic antifreeze
- Option 2: Blowing out your RV water lines using air, then filling the lines with a non-toxic antifreeze
We'll take you step-by-step through each method:
Option 1
This option involves winterizing your RV without having to blow air through your water lines. The steps to winterize your camper with antifreeze alone include:
1. Find the Winterization Instructions in Your RV Owner's Manual:
Even though we're taking you through steps to winterize your RV, the exact procedure varies from camper to camper. For instance, some campers have water filters, ice makers and other devices requiring special techniques. Make sure to consult your owner's manual for any special instructions on how to winterize a camper.
2. Take Out or Bypass Inline Water Filters
RVs often come with built-in water filters that you'll have to take out or bypass before beginning the winterization process. This is because antifreeze may destroy your water filters. Check your owner's manual to find out whether you have inline water filters. If so, learn how to take them out or bypass them during the winterization process.
3. Drain the Water Pipes and Tanks
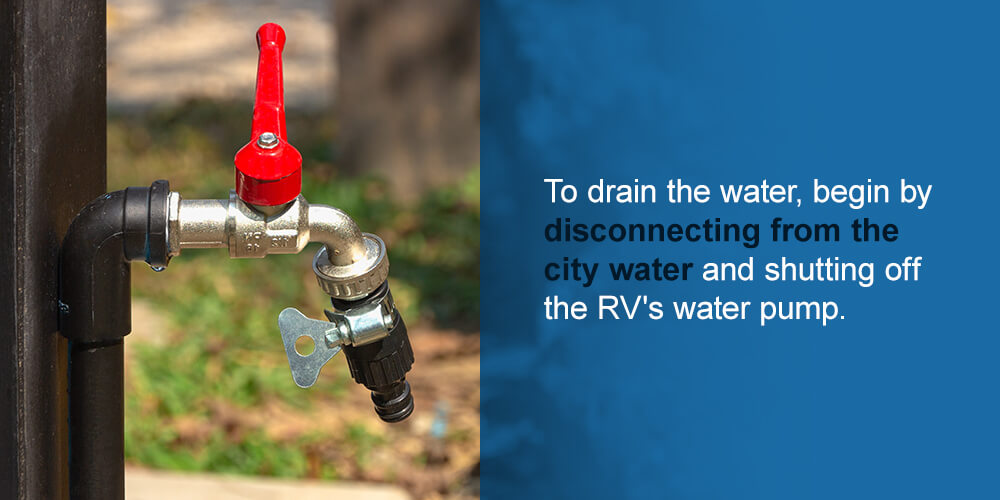
Even though this process doesn't involve blowing air through the water lines, it is still important to drain as much water as possible. To drain the water, begin by disconnecting from the city water and shutting off the RV's water pump. Then, ensure that your grey, black and freshwater tanks are empty. RV freshwater tanks usually feature a valve on your RV's underbelly next to the tank of fresh water, which is meant to drain it. If you're unable to locate this valve, consult the owner's manual.
4. Drain Water From Your RV Water Pipes
Next, drain as much water as possible from the water pipes in your RV. To begin, open up all your RV's faucets to ensure the system is depressurized. Then, close the faucets up again.
5. Locate Your RV's Low-Point Drain
While the location of this drain varies from RV to RV, it is always, as the name suggests, at a low point in the water lines. It's typically found on your RV's exterior in the form of a valve that can be opened. Opening this valve allows the water to drain from the lines. If you're having problems finding the low-point valve, consult your owner's manual. Once you locate it, open the valve up and close it up again only once you see there's no more water draining out.
Although this is an important step, it's important to note that the system will still have residual water even after draining water through the low-point valve. It is precisely for this reason that we winterize to keep the pipes from freezing.
6. Drain the Water Heater
Before beginning this step, your water heater must remain off for a minimum of three to five hours so that the water in the water heater is completely cool. Draining your water heater of hot water could cause serious injury.
Once the water heater has been turned off for this time and you are sure the water inside it cool, open up the water heater's external panel. Here, you'll find the drain plug for the water heater, which you should unscrew with a wrench. When you do this, water from the water heater should start gushing out. Once the water heater finishes draining, put the drain plug back on with your wrench.
7. Bypass the Water Heater
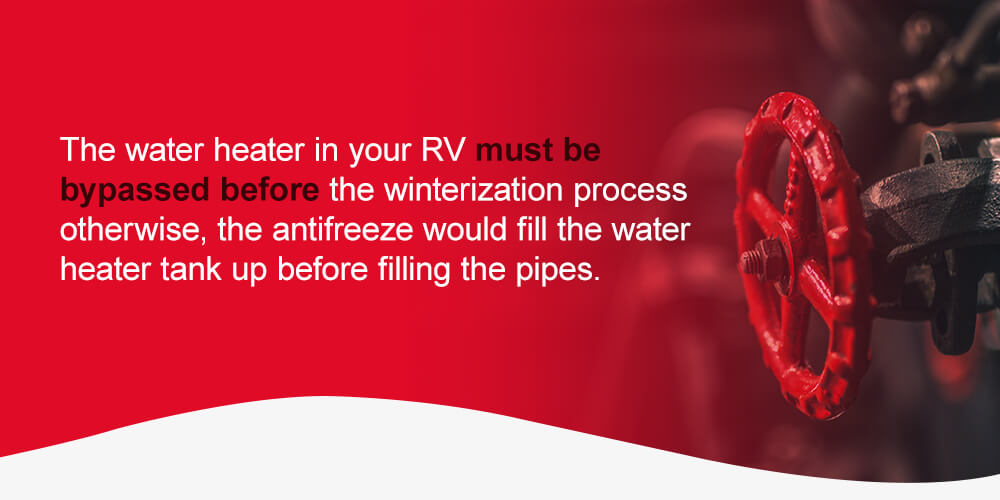
Water heaters on RVs tend to hold between five and 10 gallons of water. The water heater in your RV must be bypassed before the winterization process because, otherwise, the antifreeze would fill the water heater tank up before filling the pipes. While the antifreeze won't damage the water heater tank, you will end up wasting some antifreeze. Furthermore, when it comes time to de-winterize, having to dump between five and 10 gallons of antifreeze will be a pain.
To avoid this situation, you must switch a valve that will bypass the water heater. Doing this will cause the antifreeze to flow around the water heater, going only into the pipes. Refer to your owner's manual to determine whether your RV includes a bypass around the water heater. If you don't, you'll have to either install one or fill up your water tank with antifreeze.
8. Connect a Converter to the Water Pump
A pump converter can pull antifreeze from a container through the water pump and into the water lines of the RV to winterize the camper. These systems are fairly simple, and you can check the instructions if you have any questions. Basically, you will attach a tube to the end of your water pump that goes into the antifreeze container.
9. Winterize the RV With Your Water Pump
Now that you've hooked up the antifreeze container and water pump, begin by making sure the valves on your low-point drain are closed. Also, make sure that the water heater has been successfully bypassed. When these steps have been completed, turn the water pump on so your water lines will be pressurized.
As the pump pumps antifreeze through the water pipes, you'll notice the antifreeze level going down. When your pump stops, this means that the water system in your RV has been successfully pressurized with antifreeze. If it continues to run after a minute or two, turn your pump off to confirm there's not a valve open somewhere.
10. Ensure the Antifreeze Goes All the Way Through the Lines
Assuming that the pump stops, you should then go to all the faucets around your camper and turn them on — both hot and cold settings — until antifreeze starts coming out of the faucet. The antifreeze needs to go all the way through the lines, both cold and hot.

Remember to run the kitchen faucet and wand, toilet and any other items that are easy to forget. Note that the pipes that go into the toilet are particularly susceptible to freezing, so it's important to confirm that antifreeze is running through them. Once you see antifreeze coming out of every single faucet, both cold and hot, close off all the taps and shut the water pump off.
11. Pour Your Antifreeze Down the Drains
Now that you've finished winterizing your water lines, there's one last step you must take to ensure your drain pipes won't freeze and rupture. To do this, you'll want to pour one to two cups of antifreeze down every drain, including all the sinks, the toilet and the shower. When adding antifreeze to the toilet, start by flushing one to two cups in the black tank, then adding an additional one to two cups in the bowl.
Option 2
The second winterization option involves blowing air through your water lines. Although not a requirement, you can opt to winterize your RV by blowing air through the water lines before pumping in antifreeze.
To perform this winterization method, you should follow steps 1 through 7 above, then do the following:
- Attach your air compressor to the city water line: This can be done with an RV blow-out plug. However, if the air compressor you're using doesn't include an adjustable automatic shut-off valve, you should get an external pressure regulator. Never add more than 50 psi of air into the water lines to avoid damaging them.
- Blow each water line out: With someone to help you, turn the compressor on and have your helper in your RV open one faucet at a time until the air comes out. Make sure that all faucets are opened, and if you have an outdoor shower, turn it on. You should also spray out your kitchen wands and flush the toilet. Turn each faucet to both cold and hot, which will ensure that air gets through all the lines.
- Put antifreeze in your lines: Once you've completed the two steps above, continue with steps 8 through 11. The goal of blowing out the pipes first is to work all of the water from the system before putting your antifreeze through. By taking this extra step, your RV will receive the maximum possible winterization protection.
Winterizing the Interior of Your RV
In addition to preparing your pipes, you'll want to do a couple of other things to winterize your RV's interior. Once the weather gets cold, the relative warmth your RV offers will attract critters like mice.
Keeping out rodents is a critical part of the winterization process. When these pests invade, they can cause thousands of dollars in damage by eating furniture and wiring. To protect against these little invaders, take measures such as:
- Cover holes: With steel wool, you can cover any holes where rodents might enter. You can also spray fiberglass in nooks and crannies.
- Set traps: Set mouse traps and baits around your camper.
- Remove food sources: Take out all food and drink to keep them from attracting pests.
- Remove all clothes: Clothes and soft materials can also attract pests, so take out all your clothes. If the clothes must stay, put mothballs in your closets.
- Open up cabinets and fridge: This will prevent odors and mold.
Winterizing the Exterior of Your RV

Another important part of this process is winterizing the exterior. While, in a perfect world, you could just store your RV in a garage or cover it with a tarp. However, this is usually not an option for camper owners, as covered storage is hard to find and pricey. Instead, you will likely have to winterize your exterior, which you can do by performing the following steps:
- Wash and wax the camper: While washing your RV will make it clean, waxing it will help protect it against harsh winter elements.
- Seal any areas of concern: Seal up any places that you suspect are leaking. If you've noticed any water leaking into your camper, now is the perfect time to check your door seals, window seals and roof for indications of leaking. If you notice any, you should patch these areas by using a waterproof silicone sealant.
- Cover openings: Next, you should clean and cover up any exhaust pipes, RV ports, drains and so forth. To winterize the exterior of your RV, you will need to cover up openings like drainpipes and furnace vents. This will ensure that no critters can gain entry to your camper. Don't cover up the furnace exhaust with a solid object — instead, use screens, which will allow your furnace to continue properly exhausting once you're ready to use it again.
- Clean your awning: You should also open up, clean and dry the awning on your camper. Before you store your camper in the winter, you'll want to ensure it's clean and dry so it doesn't attract mildew.
- Spray repellent: Spray your window seals and doorways with natural pest repellent. You will save yourself lots of headaches by keeping out critters now.
Additional Steps for Motorhomes
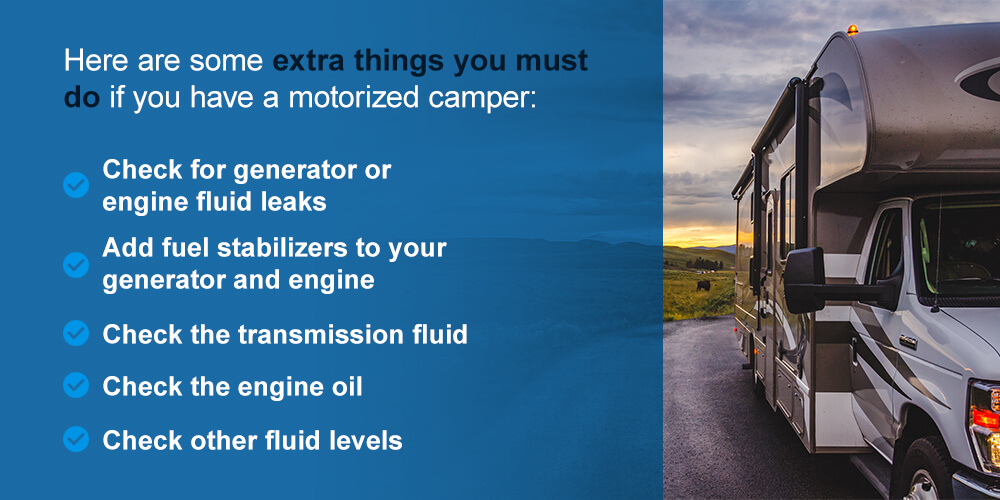
If your camper is motorized, lots of extra components will need to be winterized other than the "house" parts of your RV. Here are some extra things you must do if you have a motorized camper:
- Check for generator or engine fluid leaks: If you find any, have them repaired.
- Add fuel stabilizers to your generator and engine: This will prevent the gas from going bad.
- Check the transmission fluid: If the fluid appears to be low, dirty or discolored, ask a mechanic to take a look.
- Check the engine oil: If needed, top it off.
- Check other fluid levels: These include fluids like brake fluid and power steering fluid. Make sure they're topped off.
If you notice that any fluids are abnormally low, have a mechanic look at your camper before you store it away.
Learn About Our Camper Loans

If you dream about getting a camper and think you might need a loan to make that dream come true, you've come to the right place.
At My Financing USA, buying a camper is a realistic goal. We connect buyers with lenders that can offer the best rates on RV and camper loans. We let you focus on shopping while we deal with the details. When working with My Financing USA, the application process is virtual, and your personal information is completely secure. Apply for a loan for your new camper today.