

Quick Navigation
- What Is De-Winterization, and Why Is It Important?
- How to De-Winterize Your Camper or Motorhome
- 1. Inspect the Exterior
- 2. Charge And Install The Batteries
- 3. Flush And Sanitize Your Water System
- 4. Check For Leaky Pipes
- 5. Replace The Propane Tanks
- 6. Check The Safety Devices And Restock Your First-Aid Kit
- 7. Inspect And Clean The Interior
- 8. Update The Registration And Insurance
While some people reluctantly bid winter a farewell, RV owners welcome the changing of the season with open arms. The first signs of spring promise warmer days are on the horizon, and the start of camping season is only a few weeks away. As the temperature gets warmer and the snow begins to melt away, it's time to start thinking about de-winterizing your camper.
If you are a new RV owner who is de-winterizing a camper or motorhome for the first time, this process may seem daunting. But with our help, you'll learn the best way to de-winterize your camper so you can get ready for a summer filled with fun and adventure.
Campers and motorhomes come in all shapes and sizes, but the de-winterizing process is generally the same for most recreational vehicles. Whether this is your first de-winterizing experience or you need a quick refresher, this guide will show you the fastest and most efficient way to de-winterize campers of all types.
There's nothing like unplugging from technology and spending quality time with friends and family in the great outdoors. Start the camping season off on the right foot by learning how to de-winterize an RV camper like a seasoned expert.
What Is De-Winterization, and Why Is It Important?
When autumn's chill swept through, you took several essential steps to prepare your camper for the upcoming drop in temperature. Winterizing requires you to flush the water system, disconnect the propane tanks and take other necessary precautions to prepare your vehicle for several months of storage. When an RV isn't ready for winter, it can sustain damage, become rusted and even grow mold on the inside.
De-winterizing a camper means getting a recreational vehicle ready for spring and summer use by resetting and refreshing the essential systems that make your camper livable and functional. Along with inspecting the RV's interior and exterior, you must care for the water system, reinstall the batteries and propane tanks and repair any signs of damage.
You must de-winterize your RV or motorized camper before using it because the process allows you to inspect your unit from top to bottom, resolve mechanical issues and get it ready for your next vacation. Otherwise, your camper will be unusable.
Now, you may be wondering when to de-winterize motorhomes and campers. The timing is just as crucial as how thoroughly you follow the process. One of the most critical steps for getting an RV ready for spring is refilling the water system.
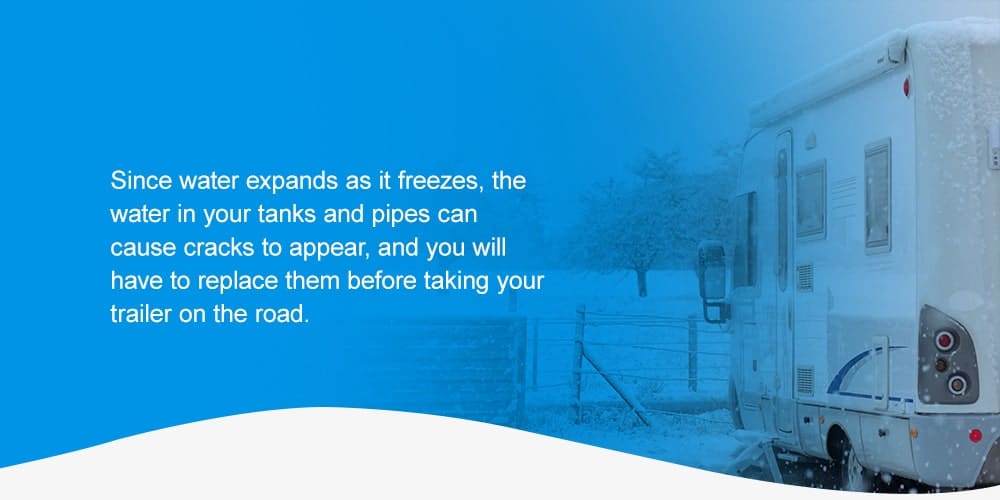
If you refill the water tanks and your region experiences a sudden drop in temperature, it could cause the water to freeze. Since water expands as it freezes, the water in your tanks and pipes can cause cracks to appear, and you will have to replace them before taking your trailer or motorized camper on the road.
The best time to de-winterize RV campers is in mid- to late spring, when you are confident that nightly temperatures won't drop below freezing. When you think it's time to de-winterize, follow the weather forecast for a week or so before going through the process to ensure you're not putting your camper at risk.
How to De-Winterize Your Camper or Motorhome
While there are several different types of campers, de-winterizing is generally the same across the board. We'll show you how to step-by-step de-winterize a camper trailer or motorhome. From washing the exterior to sanitizing the water system, you'll learn how to easily de-winterize an RV camper without spending a ton of money. So, take notes and get your work clothes ready because you don't want to miss a single detail.
1. Inspect the Exterior
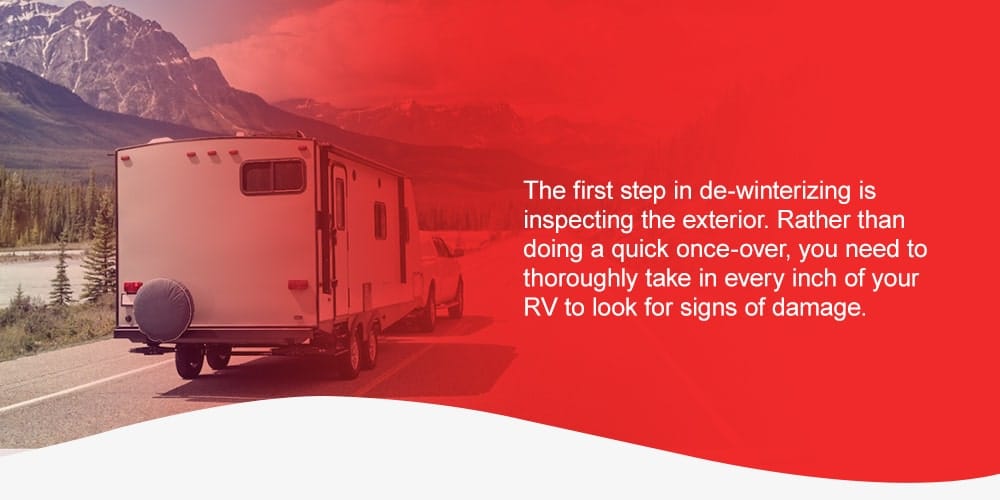
Even though you're probably eager to get the de-winterizing process over with and get on the road after spending the winter cooped up, you've got some work ahead of you before you can spend the night in your camper. The first step in de-winterizing is inspecting the exterior. Rather than doing a quick once-over, you should thoroughly take in every inch of your RV to look for signs of damage.
If you left your camper parked outside for the winter — even under a tarp — heavy snowfall or storms may have damaged it. Look for any cracks on the shell or leaks along the edges and seams. Pay special attention to the windows and doors in case the weatherstripping has started to crack or peel. If it has, you'll need to replace it before you take your camper trailer or motorized camper on vacation.
Remember to check the roof and slide-outs as well, in case water leaked through and caused mold to accumulate. Open and close the awnings to ensure they are working correctly and clean off any dust that settled over the winter.
If you have a camper trailer, go over the hitch components and look for rust and corrosion. Replace any damaged parts to prevent accidents or getting stuck on the side of the road with a broken hitch.
If you have a motorized camper, check that the engine runs smoothly and that fluids are at the appropriate levels.
Lastly, de-winterizing the camper exterior means refilling the tires. When a trailer or vehicle sits for too long, the tires tend to lose pressure — especially when there are drastic temperature changes. Driving with underinflated tires is hazardous, causing poor handling and uneven wear that could cause an accident. So before you go on the road, check your tire pressure and tread — the owner's manual will tell you the manufacturer's standards for your tires if you are unsure what they are.
2. Charge and Install the Batteries
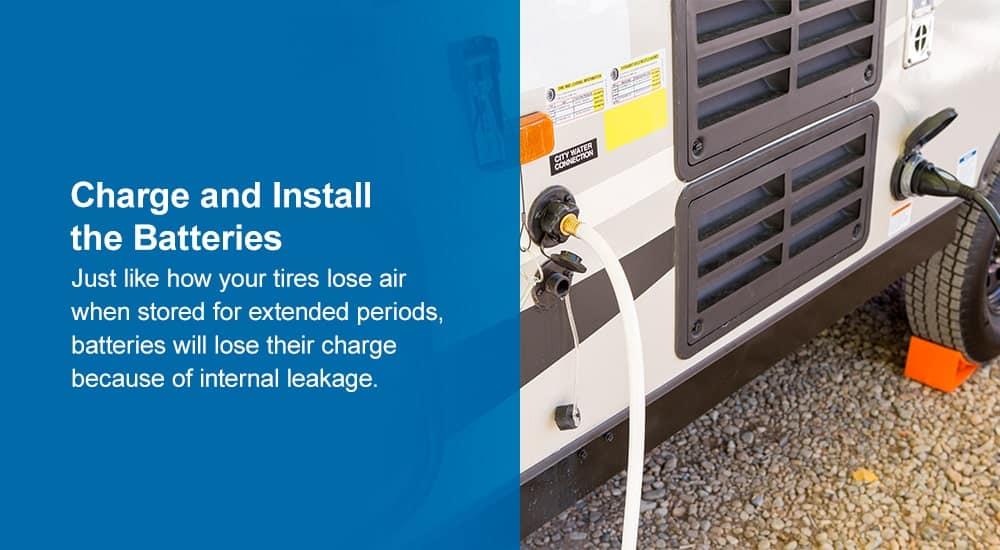
If you thoroughly winterized your camper, you should have unplugged and stored the batteries. Just like how your tires lose air when stored for extended periods, batteries will lose their charge because of internal leakage. If you forget to check and recharge your batteries throughout the winter, they will lose some of their charge over time and will eventually not be able to hold a full charge. Storing your batteries correctly and charging them as needed could expand their life span.
But before you can reinstall the batteries, you'll have to check their charge using a voltmeter. When doing so, make sure to disconnect the camper from electricity, or the reading won't be correct. If you have a 12-volt battery at full charge, it should read about 12.7 volts. Your batteries will need a few hours to a few days to reach a full charge, depending on their current condition.
If you're wondering how to de-winterize a camper battery terminal that needs maintenance, here is how you can spiff it up in time for your first road trip:
- First, put on latex gloves and safety goggles to protect your skin and eyes.
- Disconnect the shore power and turn off all power sources.
- Check to make sure that the battery connections are clean.
- For rusted terminals, mix baking soda and warm water to create a paste. Use a soft cloth to gently clean the terminal.
- Finally, wipe the solution away with a dry cloth.
Before you charge your battery, check the water level first. If the water level is low, add distilled water until it reaches the appropriate level. When you're ready, reinstall the battery and make sure the connections are secure. If you are uncomfortable with the process, contact an RV maintenance professional to do it for you. While it may cost more money, it will save you a headache and make you feel safe when traveling on the road.
3. Flush and Sanitize Your Water System
Winterizing an RV water system is no easy task, and neither is performing the process in reverse. Whether you're looking for how to de-winterize a fifth-wheel camper, a pop-up camper or a motorhome, the steps to completing this chore require the same time, attention and work regardless of your RV model.
De-winterizing your water system is vital, and you can't skip a single detail. Your fresh water system provides clean water for you to drink, cook and clean with and bathe in. You don't want to risk contaminants like mold, calcium buildup and bacteria.
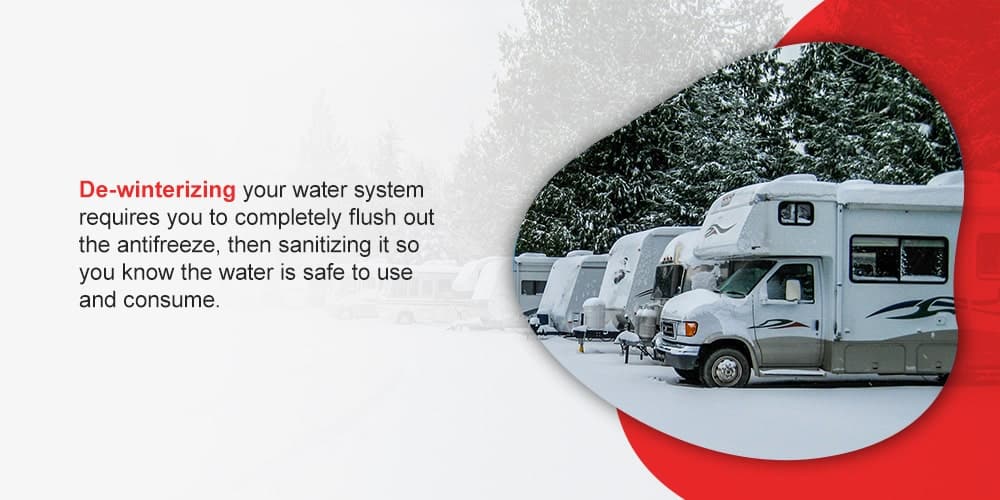
De-winterizing your water system requires you to completely flush out the antifreeze, then sanitize it so you know the water is safe to use and consume.
Here is how to safely clear out the RV antifreeze:
- Turn on the water pump and open all the faucets. Make sure to include the showers.
- Let the water run through the system for up to five minutes.
- As the water pump is running, flush the toilet several times to switch out the tank water.
- When the water finally starts coming out clear, you can turn off the faucets and pump.
- Put the water heater out of bypass mode and replace the water filter cartridges.
- Dump the gray and black water tanks at a dumping site.
If you didn't put your water heater in bypass mode for off-season storage, you will have to drain the antifreeze from the water heater tank and dump it. Do this before replacing the water filters. After you flush the water system, you need to sanitize it, too.
Here is how you can sanitize your water system:
- Close and plug all your drains.
- Measure a quarter-cup of bleach for every 15 gallons of fresh water in your tanks.
- Pour the bleach into a gallon container and fill the remainder of the tank holds with water.
- Next, add the mixture into the fresh water tank fill and add potable water to fill the tank.
- Now, you can open the faucets and turn on the water pump.
- Run the water on all faucets until you can smell the bleach.
- Close the faucets again and allow the bleach mixture to sit in the system overnight.
- In the morning, drain the water from the system and refill the tank with potable water.
- Open all the faucets and turn on the water pump to flush the system.
- Run the water until it no longer smells like bleach, which may take up to 10 minutes.
Allowing the bleach to sit overnight will efficiently eliminate bacteria. However, if you leave bleach in your plumbing system too long, it could cause the synthetic seals in the water lines to corrode and wear down faster. Don't let the bleach solution sit for more than 12 hours.
4. Check for Leaky Pipes
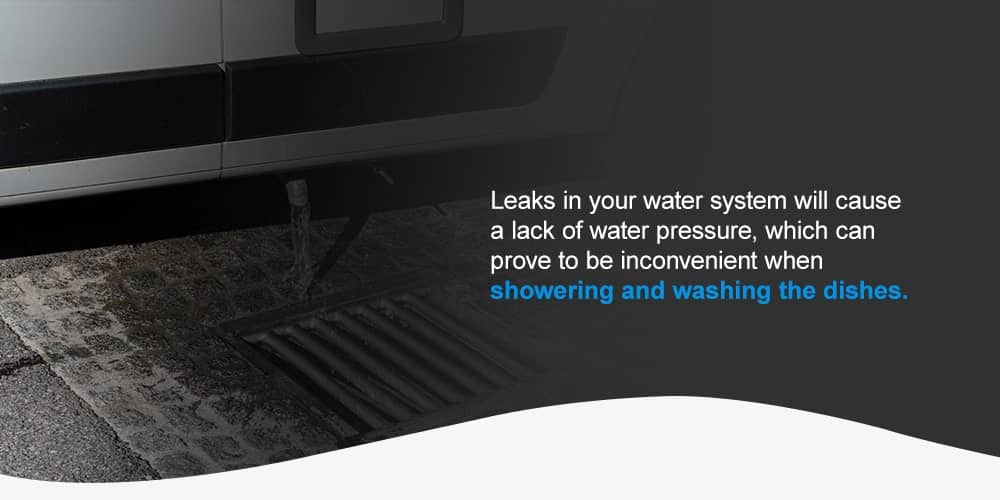
Leaks in your water system will cause a lack of water pressure, which can be inconvenient when showering and washing the dishes. So when your water system is finally clean and ready to use, you need to check the pipes and hoses for leaks.
First, turn on the pump and allow the pressure to build in the water tank to pressurize the fresh water as soon as it enters the tank. Once you achieve full pressure, the pump will automatically turn off. Wait for a few minutes to see if the pump will turn itself back on. If it does, that means you have a leak to repair somewhere in the plumbing system.
You can locate the leak by checking the pipe system and looking under the sinks in your motorhome or camper trailer. There is also a chance your toilet has a leak, so inspect the seams as it flushes to ensure the unit is intact. Always repair leaks right away, as they can lead to mold, water damage and bacteria growth.
If you are unfamiliar with fixing leaks, you can take your camper to a certified professional.
5. Replace the Propane Tanks
You've almost finished de-winterizing your camper trailer or motorized camper, and the date for your first RV getaway is inching closer. But before you can cook on the stove, bathe with hot water and stock your refrigerator, you need to replace the propane tanks.
First things first, test the propane system. Turn off the tank valves and all appliances that run on propane. While it may seem like common knowledge, it's always a good reminder to never smoke or light flames when testing and installing the propane system.
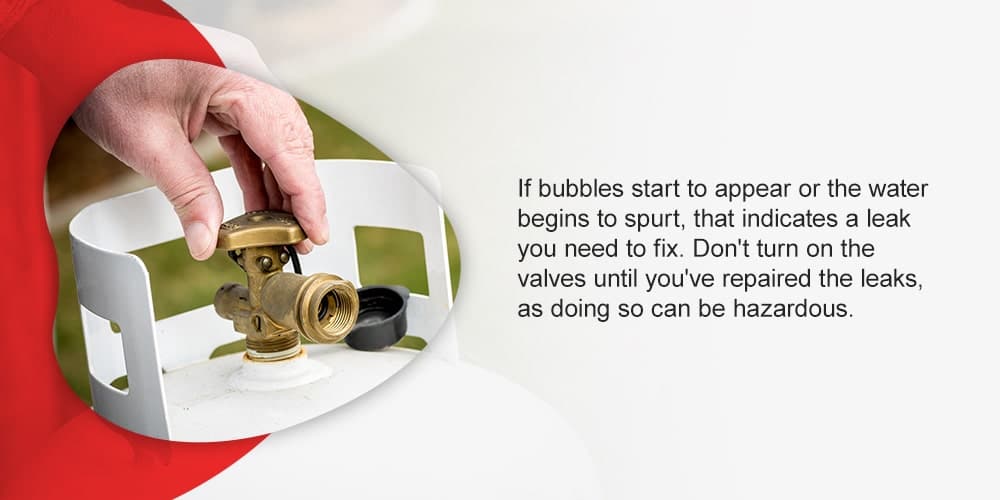
Check the propane system for leaks by applying soapy water to the valve and regulator. If bubbles start to appear or the water begins to spurt, that indicates a leak you need to fix. Don't turn on the valves until you've repaired the leaks, as doing so can be hazardous.
In addition, you will need to test the propane detector to ensure it is working properly. If you smell propane or suspect a leak, turn off the propane valves and have your camper checked by a professional. If your propane lines are functioning and in good condition, slowly open the valves to allow gas to flow through the system.
Lastly, clean all your LP appliances and ensure they are in working condition as well. You're one step closer to setting up camp!
6. Check the Safety Devices and Restock Your First-Aid Kit
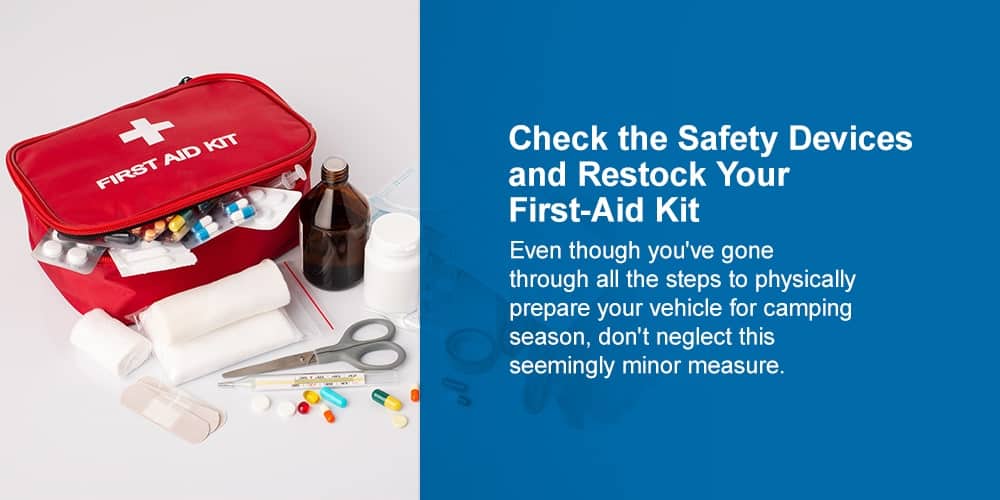
When you de-winterize pop-up campers and other RVs, you can't forget to inspect the safety devices. Even though you've gone through all the steps to physically prepare your vehicle for camping season, don't neglect this seemingly minor measure. Your vehicle's safety devices are vital to your health and safety. Anything can happen when you're traveling on the road, and a fully stocked first-aid kit or extra safety devices can come in handy when you're dealing with the unexpected.
Be sure to check your smoke alarm, LP detectors and carbon monoxide detector. Test your alarms to ensure they work correctly, and replace any dead batteries or damaged units. You also need to check your fire extinguisher's expiration date and upgrade it if necessary. If you use a dry powder extinguisher, the powder may have settled at the bottom while in storage. Release the powder by shaking and tapping the bottom of the extinguisher.
Finally, you need to restock your first-aid kit with emergency supplies. Here are a few essential items to include:
- Aspirin
- Bandages
- Medical gauze
- Adhesive cloth tape
- Antibiotic ointment
- Antiseptic wipes
- Cold packs
- A thermometer
- Nail clippers
- Tweezers
- Gloves
- An emergency blanket
7. Inspect and Clean the Interior
How do you de-winterize a motorhome or camper without giving it a thorough cleaning? Many RV owners have waited most of their adult lives to travel freely and see the world on their terms in their dream RV. Whether you're traveling to a local campsite or across the country to an entirely new location, you don't want your camper looking or smelling unpleasant.
Remove any dirt, clutter and garbage from the inside and wipe down the surfaces with a sanitizing cleaner. Ensure you check inside your refrigerator, cabinets, closets and underneath the mattresses for mold, water damage, bugs and dirt. Use a gentle cloth and solution to refresh these areas.
Lastly, make the beds with fresh linens so you can sleep soundly on your first RV vacation this year.
8. Update the Registration and Insurance
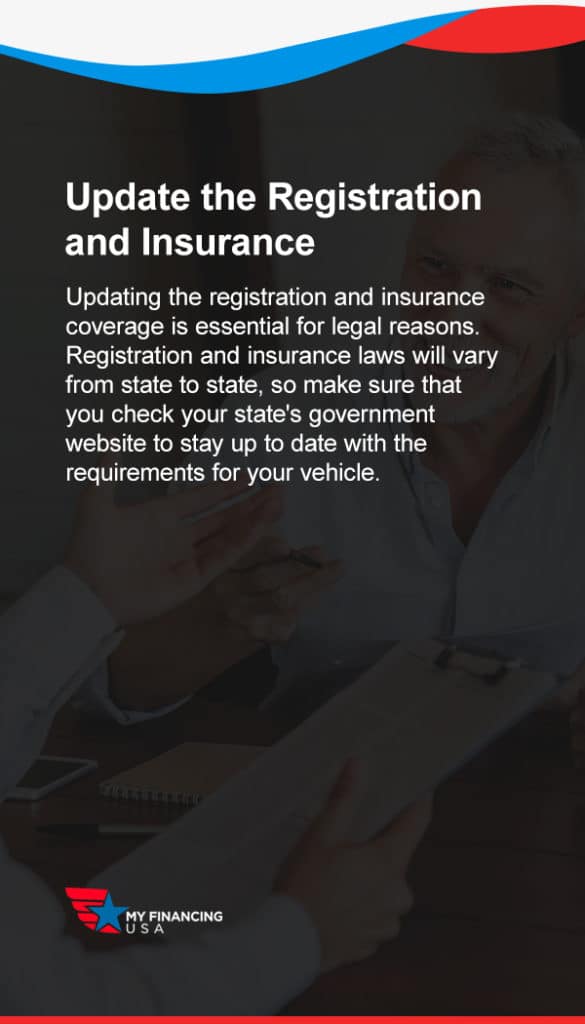
You can't go camping without a functioning water system or fully charged batteries. But, out of all these steps and precautions, you may still be wondering what is the most critical part of de-winterizing a camper. Updating the registration and insurance coverage is essential for legal reasons.
Registration and insurance laws will vary from state to state, so make sure that you check your state's government website to stay up to date with the requirements for your vehicle or trailer. Some states do not mandate registering a camper trailer but will require you to have a title for it.
Getting a New Camper Has Never Been Easier With My Financing USA

Whether you're still looking for the right camper or you have your sights set on the perfect model, My Financing USA is here to get you on the road and in the great outdoors faster and easier than ever.
Our simple and user-friendly online application process only takes five minutes to let you know if you are prequalified. With a personalized phone call from one of our loan and credit experts, we'll find the best rate that works for you.
With decades in the industry and our no-gimmicks approach, we can get you the best rate on the market — without having to spend hours researching on the internet. We do all the heavy lifting, so the only thing you have to worry about is where your first adventure will be.
For more details, visit our camper loans information page and our RV loans information page. Or take five minutes and fill out a camper loan application today!